Are you wondering how much it would cost to have new floor tile installed in your bathrooom in Kalamazoo? Maybe you’re thinking of tackling it yourself.
Let me start by saying that this type of job is probably outside the skillset of the average homeowner. I’ve talked with a few poeple who have attempted it, and invariably they say that it was FAR MORE WORK and FAR MORE DIFFICULT than they had imagined at the start. Sometimes the finished work looks very impressive. Like your first time doing anything, though,you should expect your results to be less than professional.
Tilesetting is a CRAFT. It is a set of skills, combined with years of experience, plus a variety of not-inexpensive tools, that results in a professional outcome. I was lucky enough to have trained with a master tile setter about 15 years ago. Over the course of 4 or 5 jobs, he showed me how to do it correctly. I still consider myself a NOVICE. A professional novice. I’ve completed…oh, maybe 30 or 40 tile jobs in my career so far, and I still feel like I have a lot more to learn.
I don’t discourage anyone from giving it a try, if they really want to. Please do a ton of research first. Rent or borrow all of the right tools. (Quality matters here.) Allow twice as much time as you think. Allow for twice as much dust and mess as you think. Above all, DON’T SKIMP. You’ll be tempted. I am. Every single time.
Alright. On to the good part! Here’s a sort of tutorial of a pretty standard bathroom floor job I did recently in Kalamazoo’s Vine neighborhood. (I’m just learning WordPress, so please cut me some slack with my layout.)
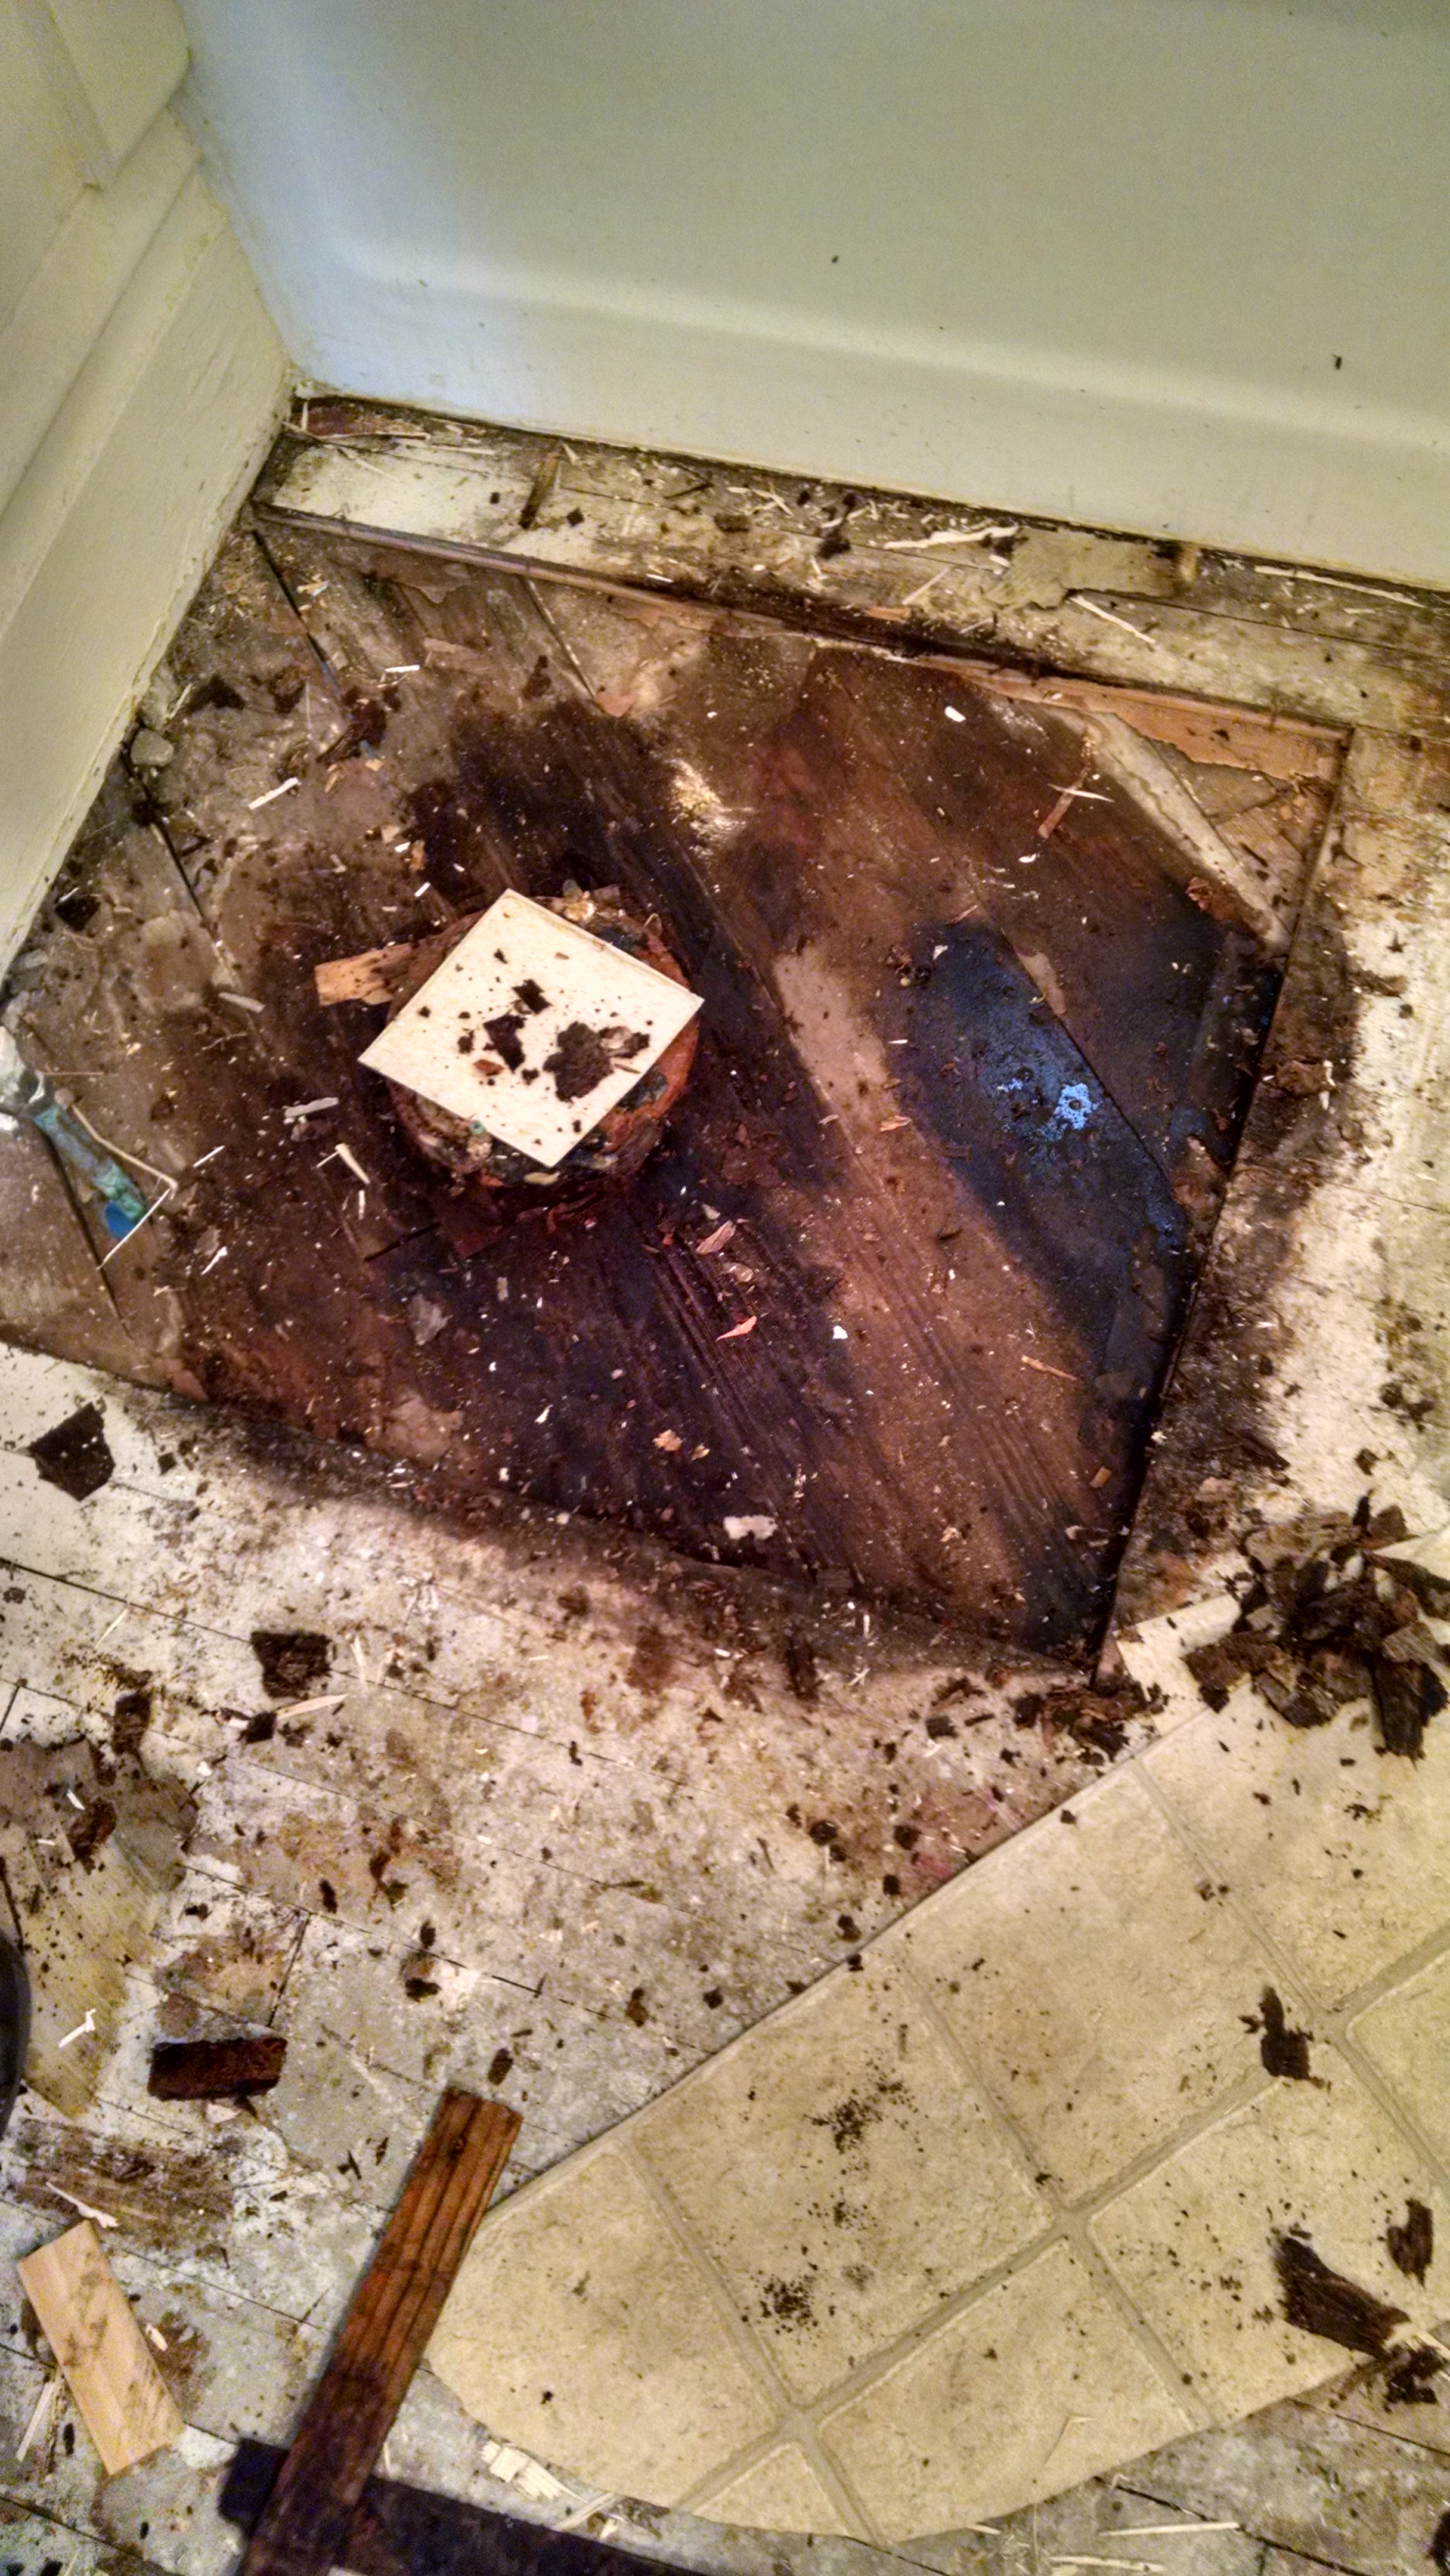
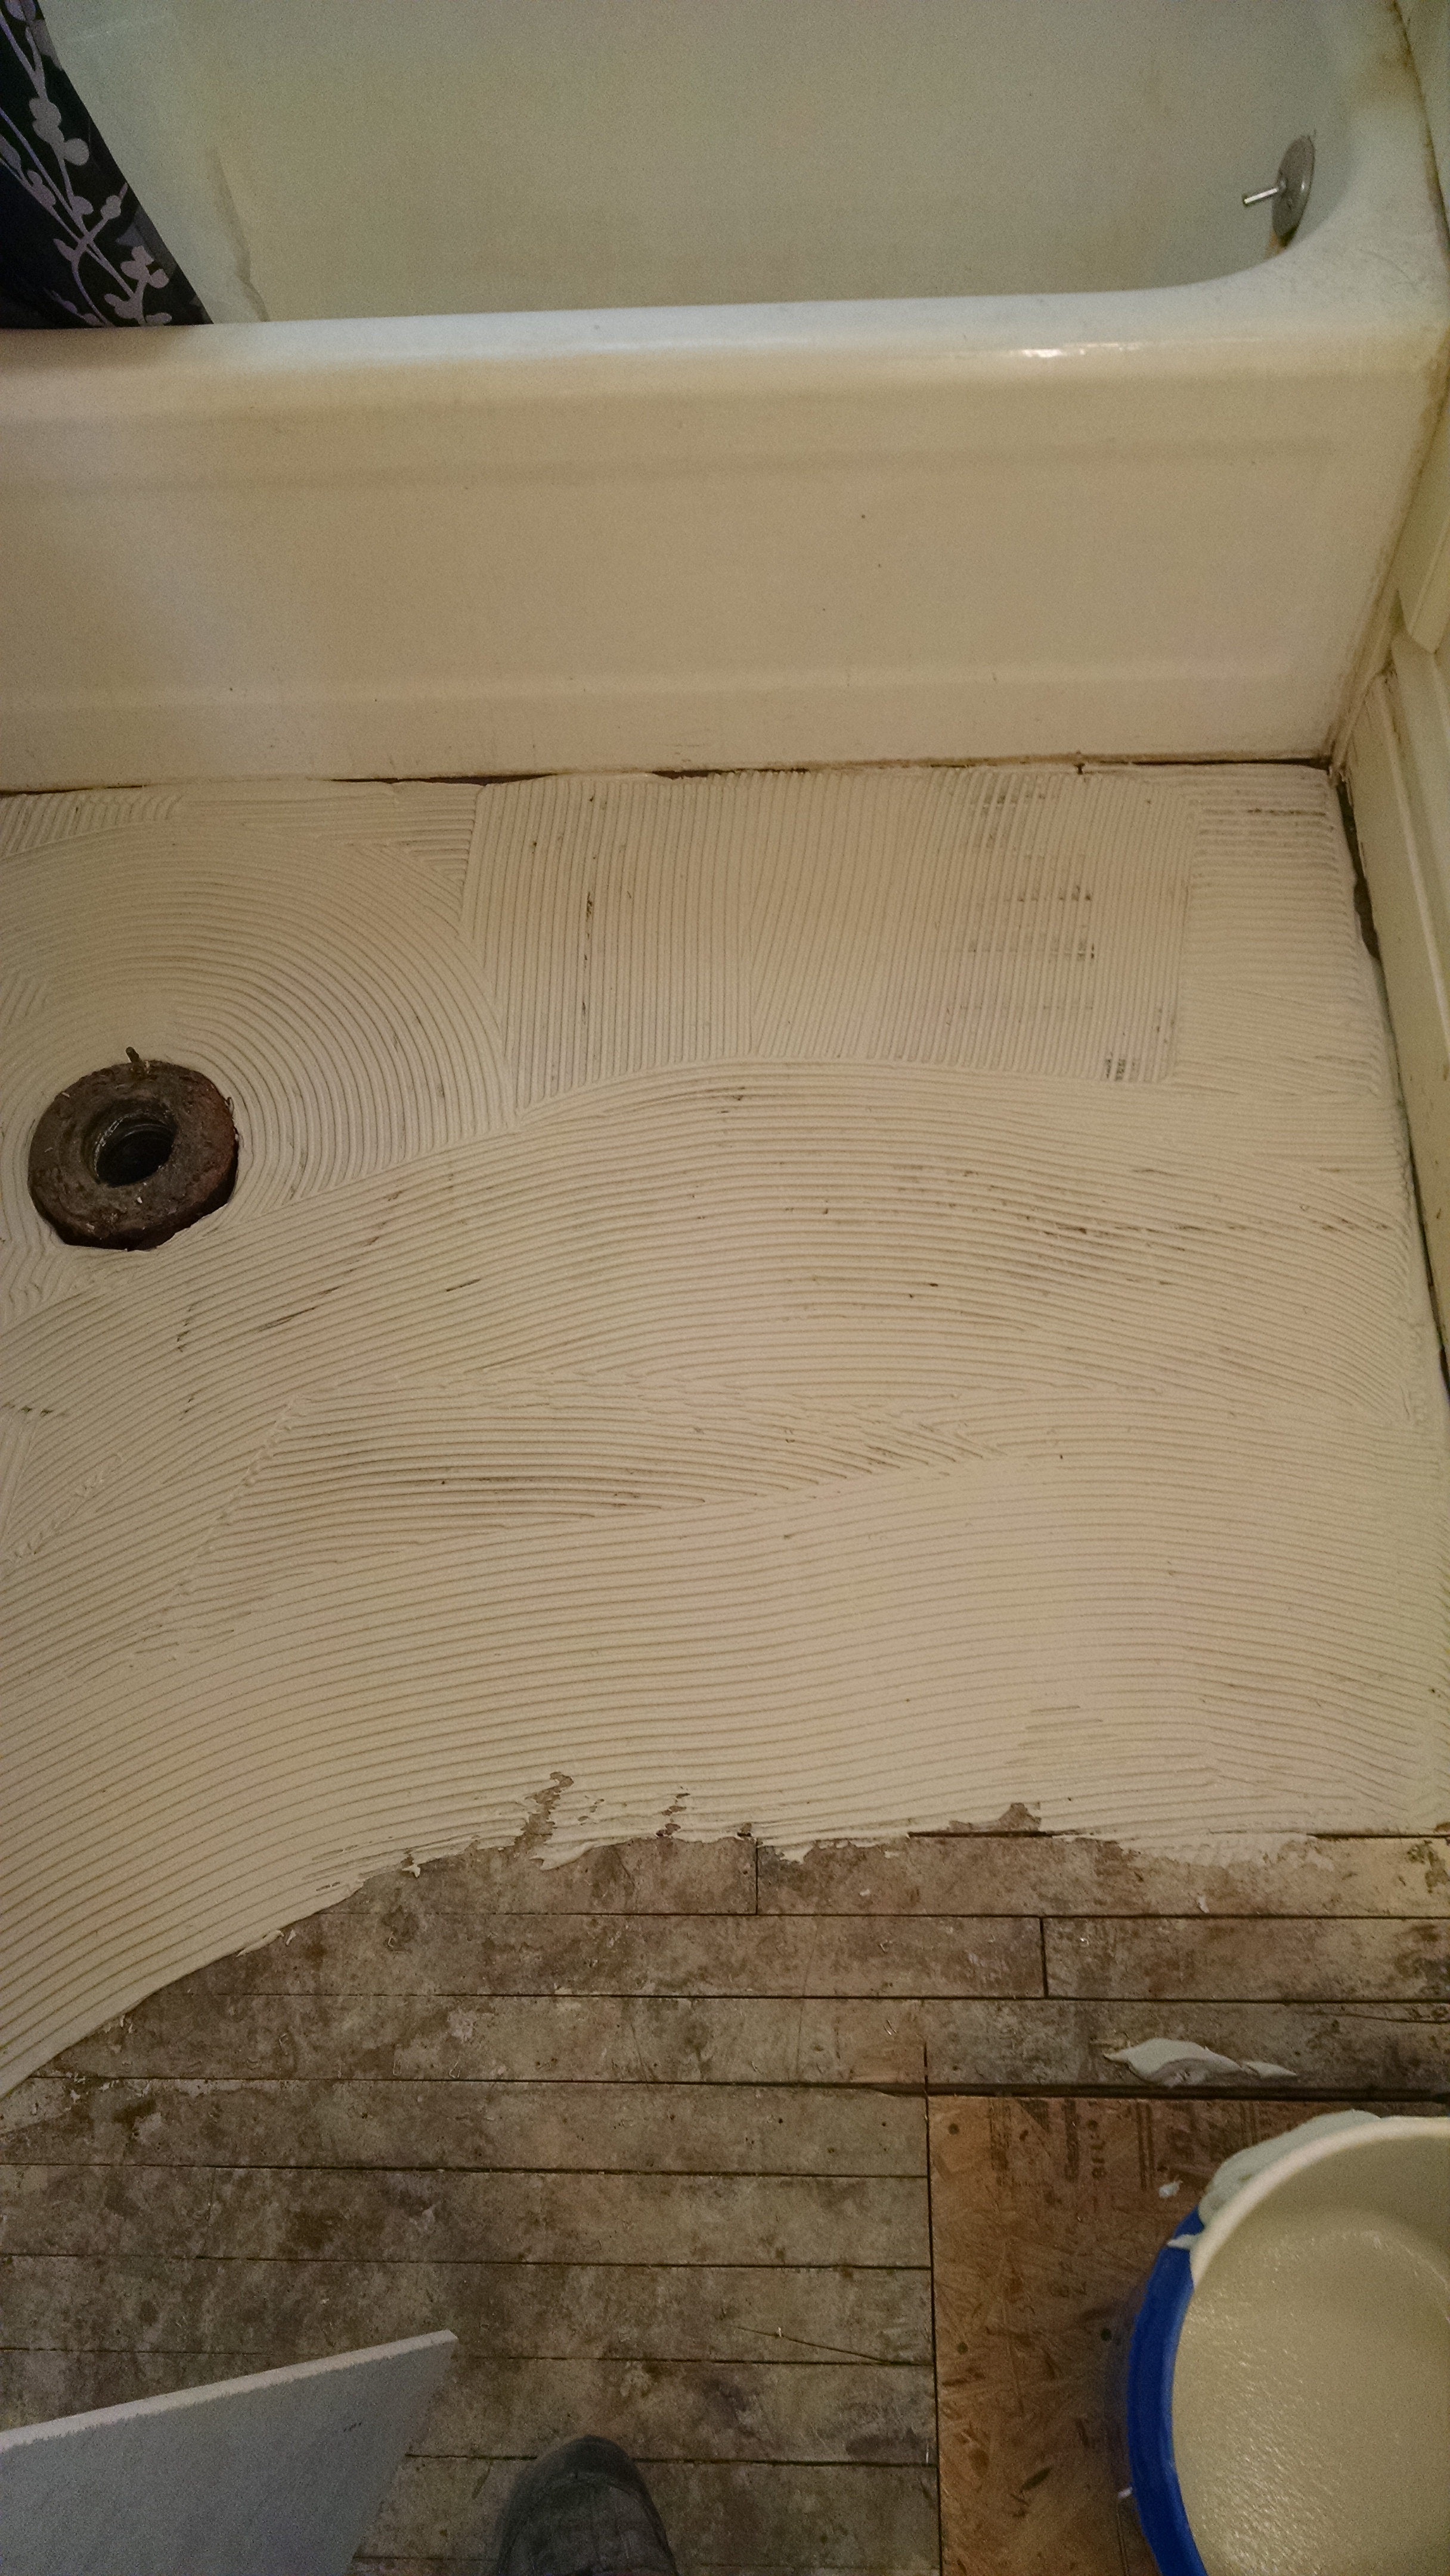
First, tear up the nasty old stuff. With the vinyl out of the way, you can see that this toilet had leaked before, and the rot had been cut out and replaced with a piece of OSB. Wet and spongy again; We need to get in there and fix this.
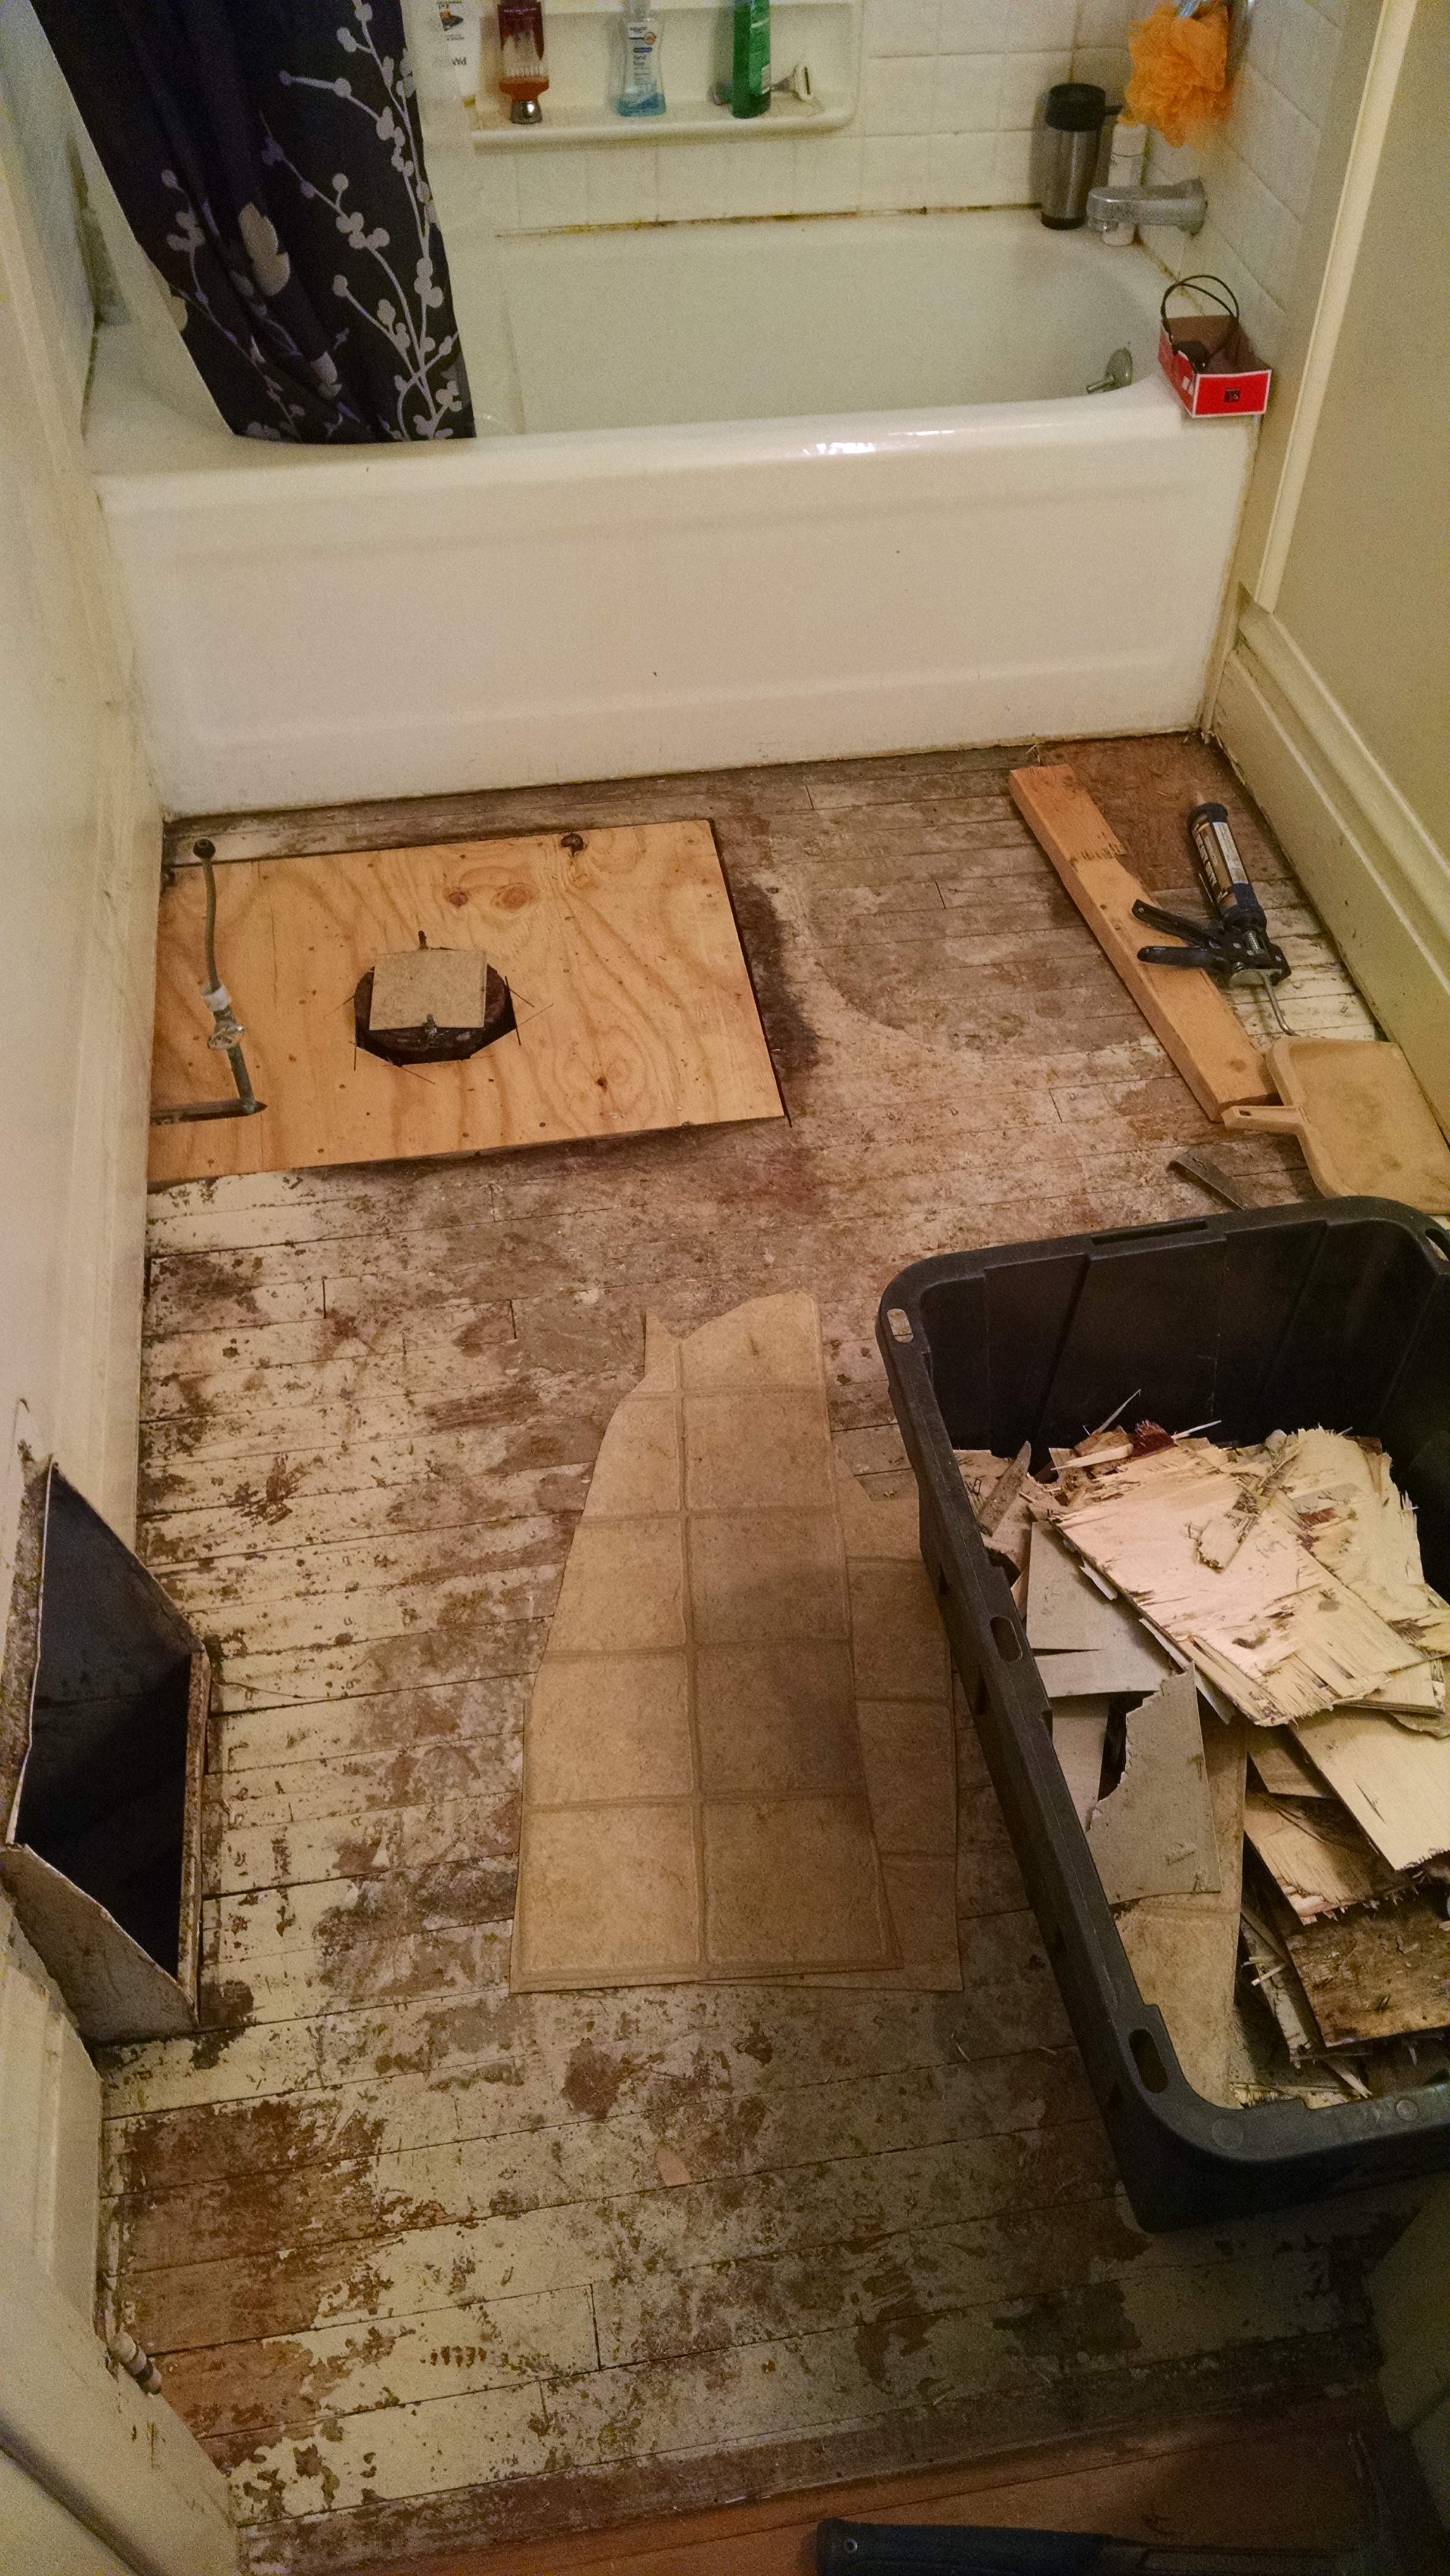
I wanted to get a good look at this entire floor, so I removed the layer of 1/4″ plywood with the vinyl attached. Nasty work. Now either hammer in or pull every nail or staple. I’ve replaced the wet toilet area with new plywood, making SURE the subfloor and framing were in good shape. You must have at least 1 1/4″ of sound, sturdy flooring, including your new underlayment, before you begin tiling. (If you skimp here, your tile will fail.)

I used floor leveler here, because my plywood came out just a hair lower than the surrounding floor. Leveler has compressive strength, and that’s all it has. (If the floor beneath is spongy, your tile will fail.)


In a bathroom, you should use cement underlayment. I’ve been using 1/2″ HardieBacker lately. Water from the tub or shower will get through the grout lines eventually, and if you used wood, it will swell, and your tile will fail. This grinder with a diamond blade works great, but it is extremely dusty. (Why haven’t I bought an oscillating tool yet?) Cut all of your boards, and test-fit them. Leave a gap of 1/16″ to 1/8″ around the perimeter, and between the boards.

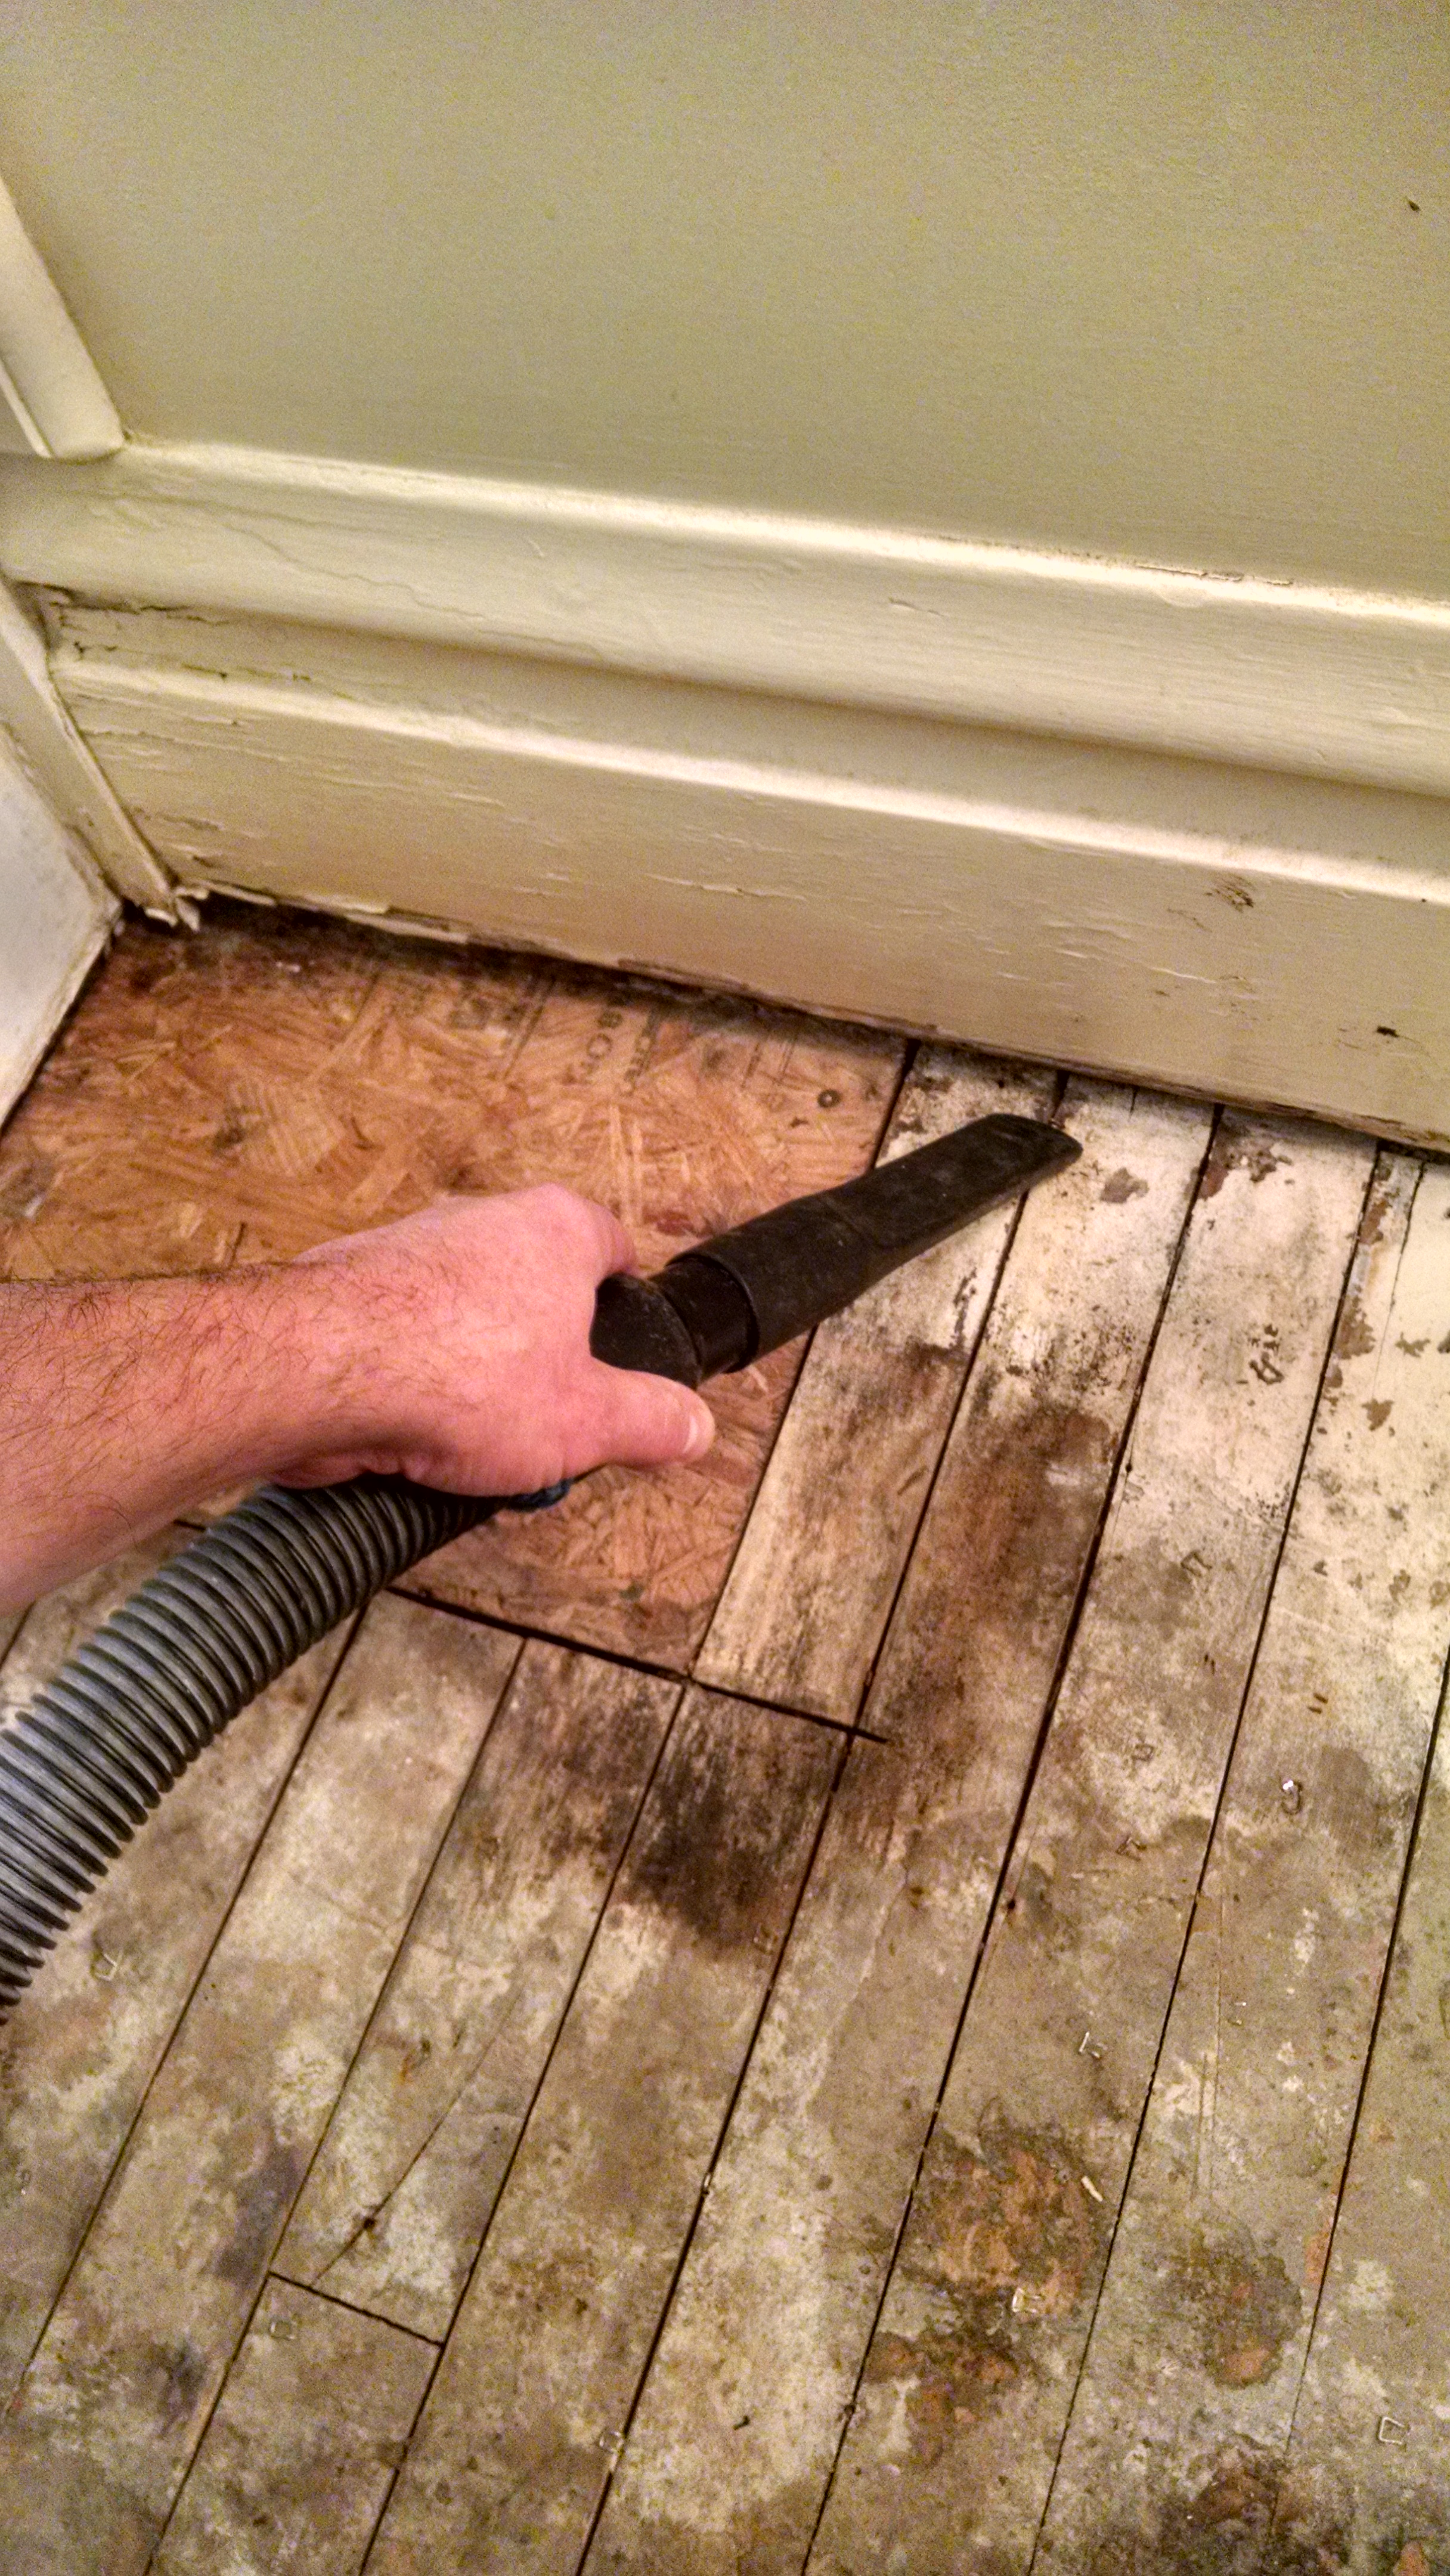
Sweep, vacuum, and clean up your worksite now.
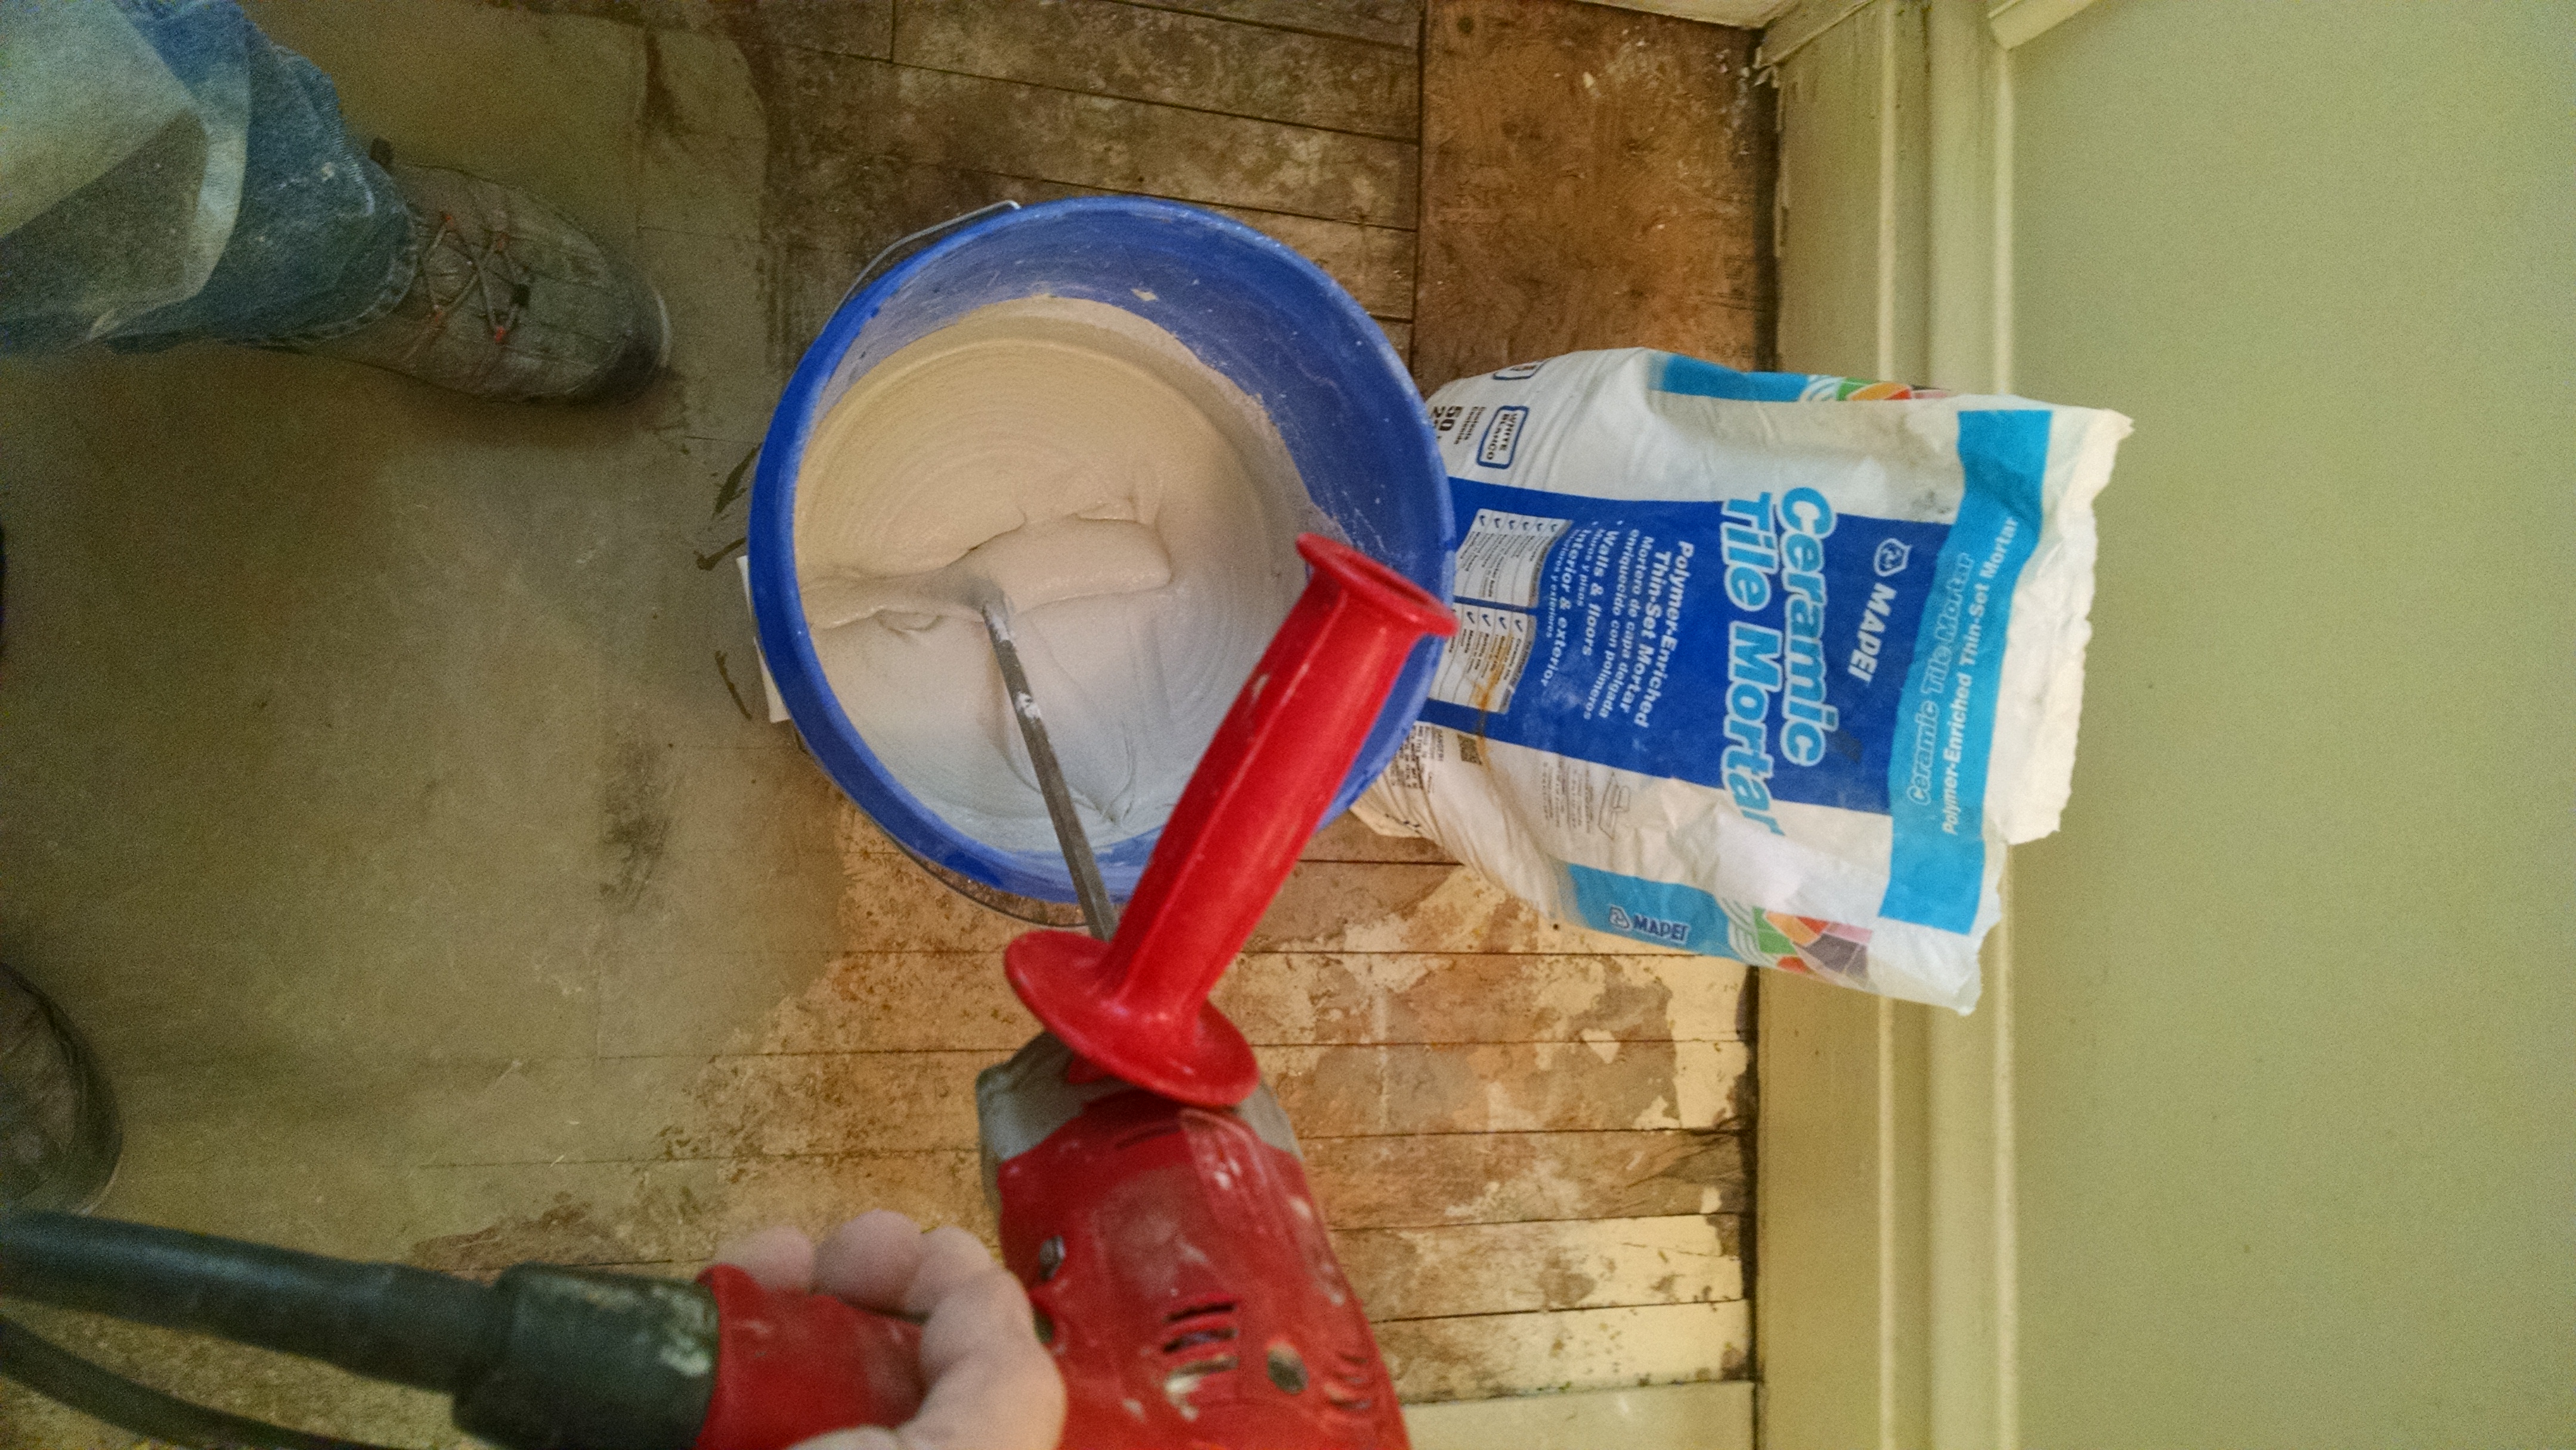
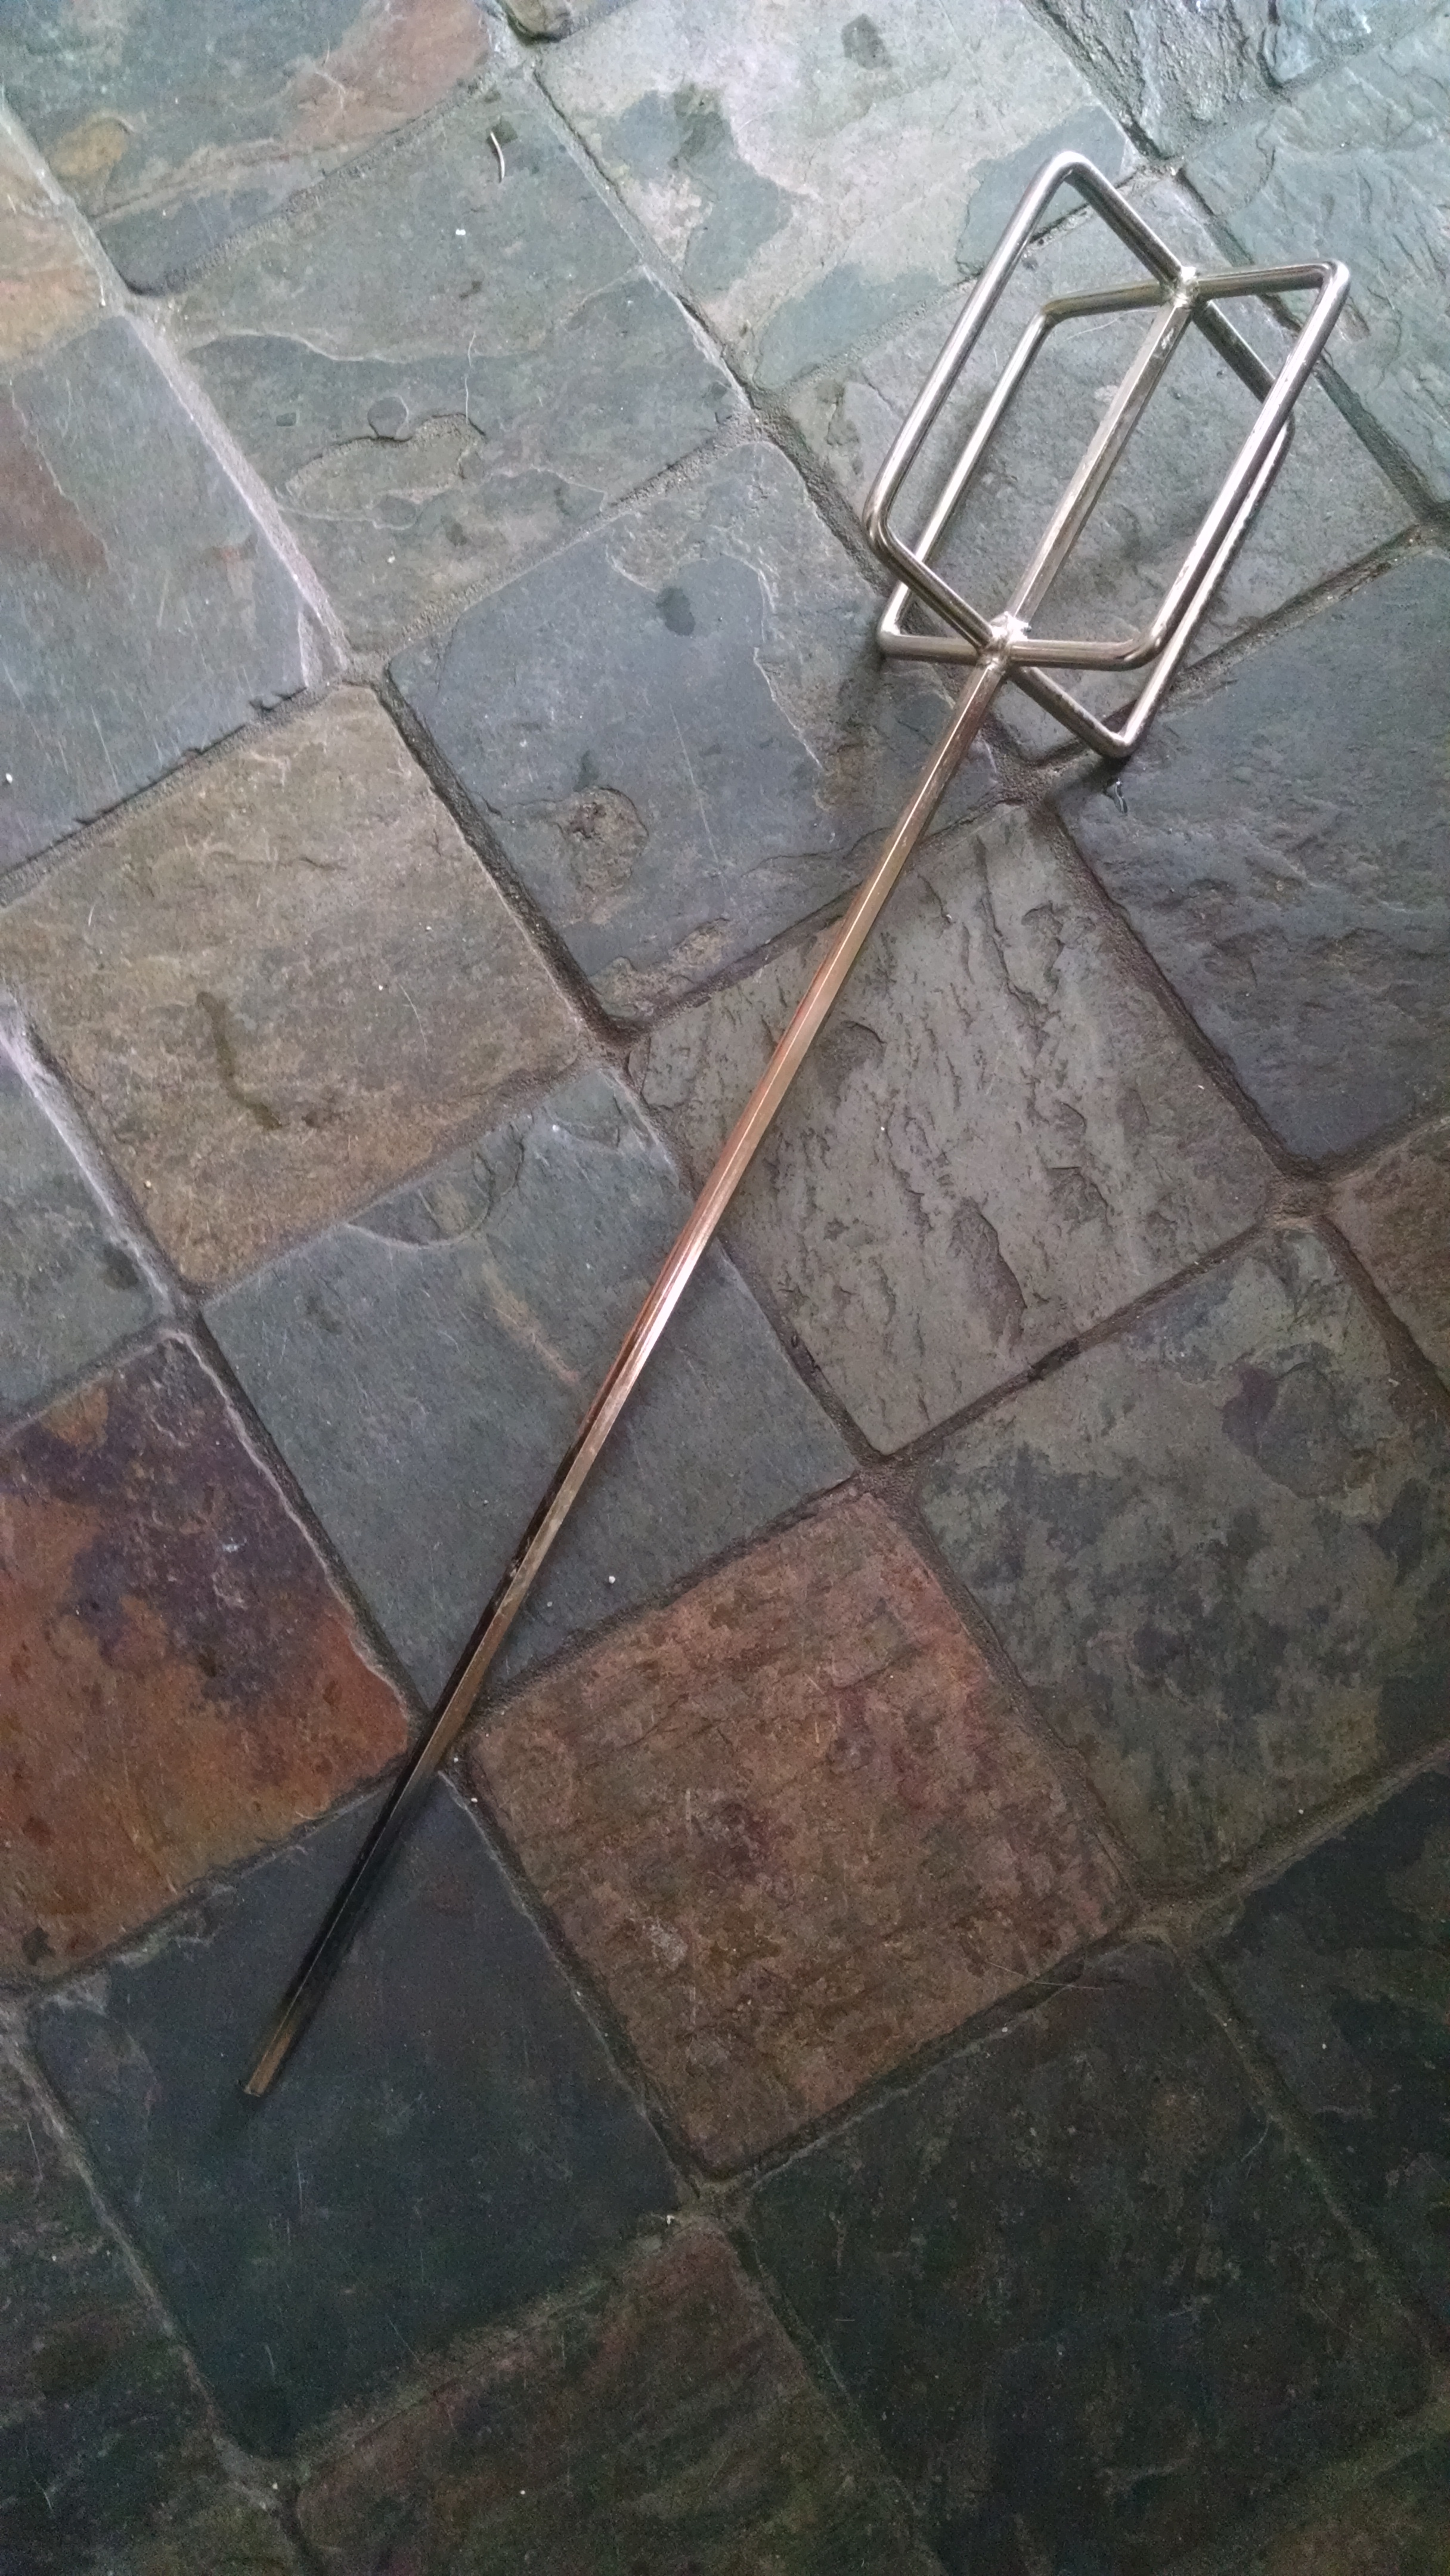


Mix thinset mortar. DUST MASK. Use a powerful low-speed drill and a mortar mixer, shown in the 2nd pic. Follow the instuctions. Spread mortar with the correct v-notch trowel for the first board. RUBBER GLOVES. Place the first board.
Repeat for the rest, one board at a time. It is essential that 100% of the board’s surface is supported by mortar, evenly v-notched, no voids. (This is the same picture, but imagine that there’s mortar underneath.)
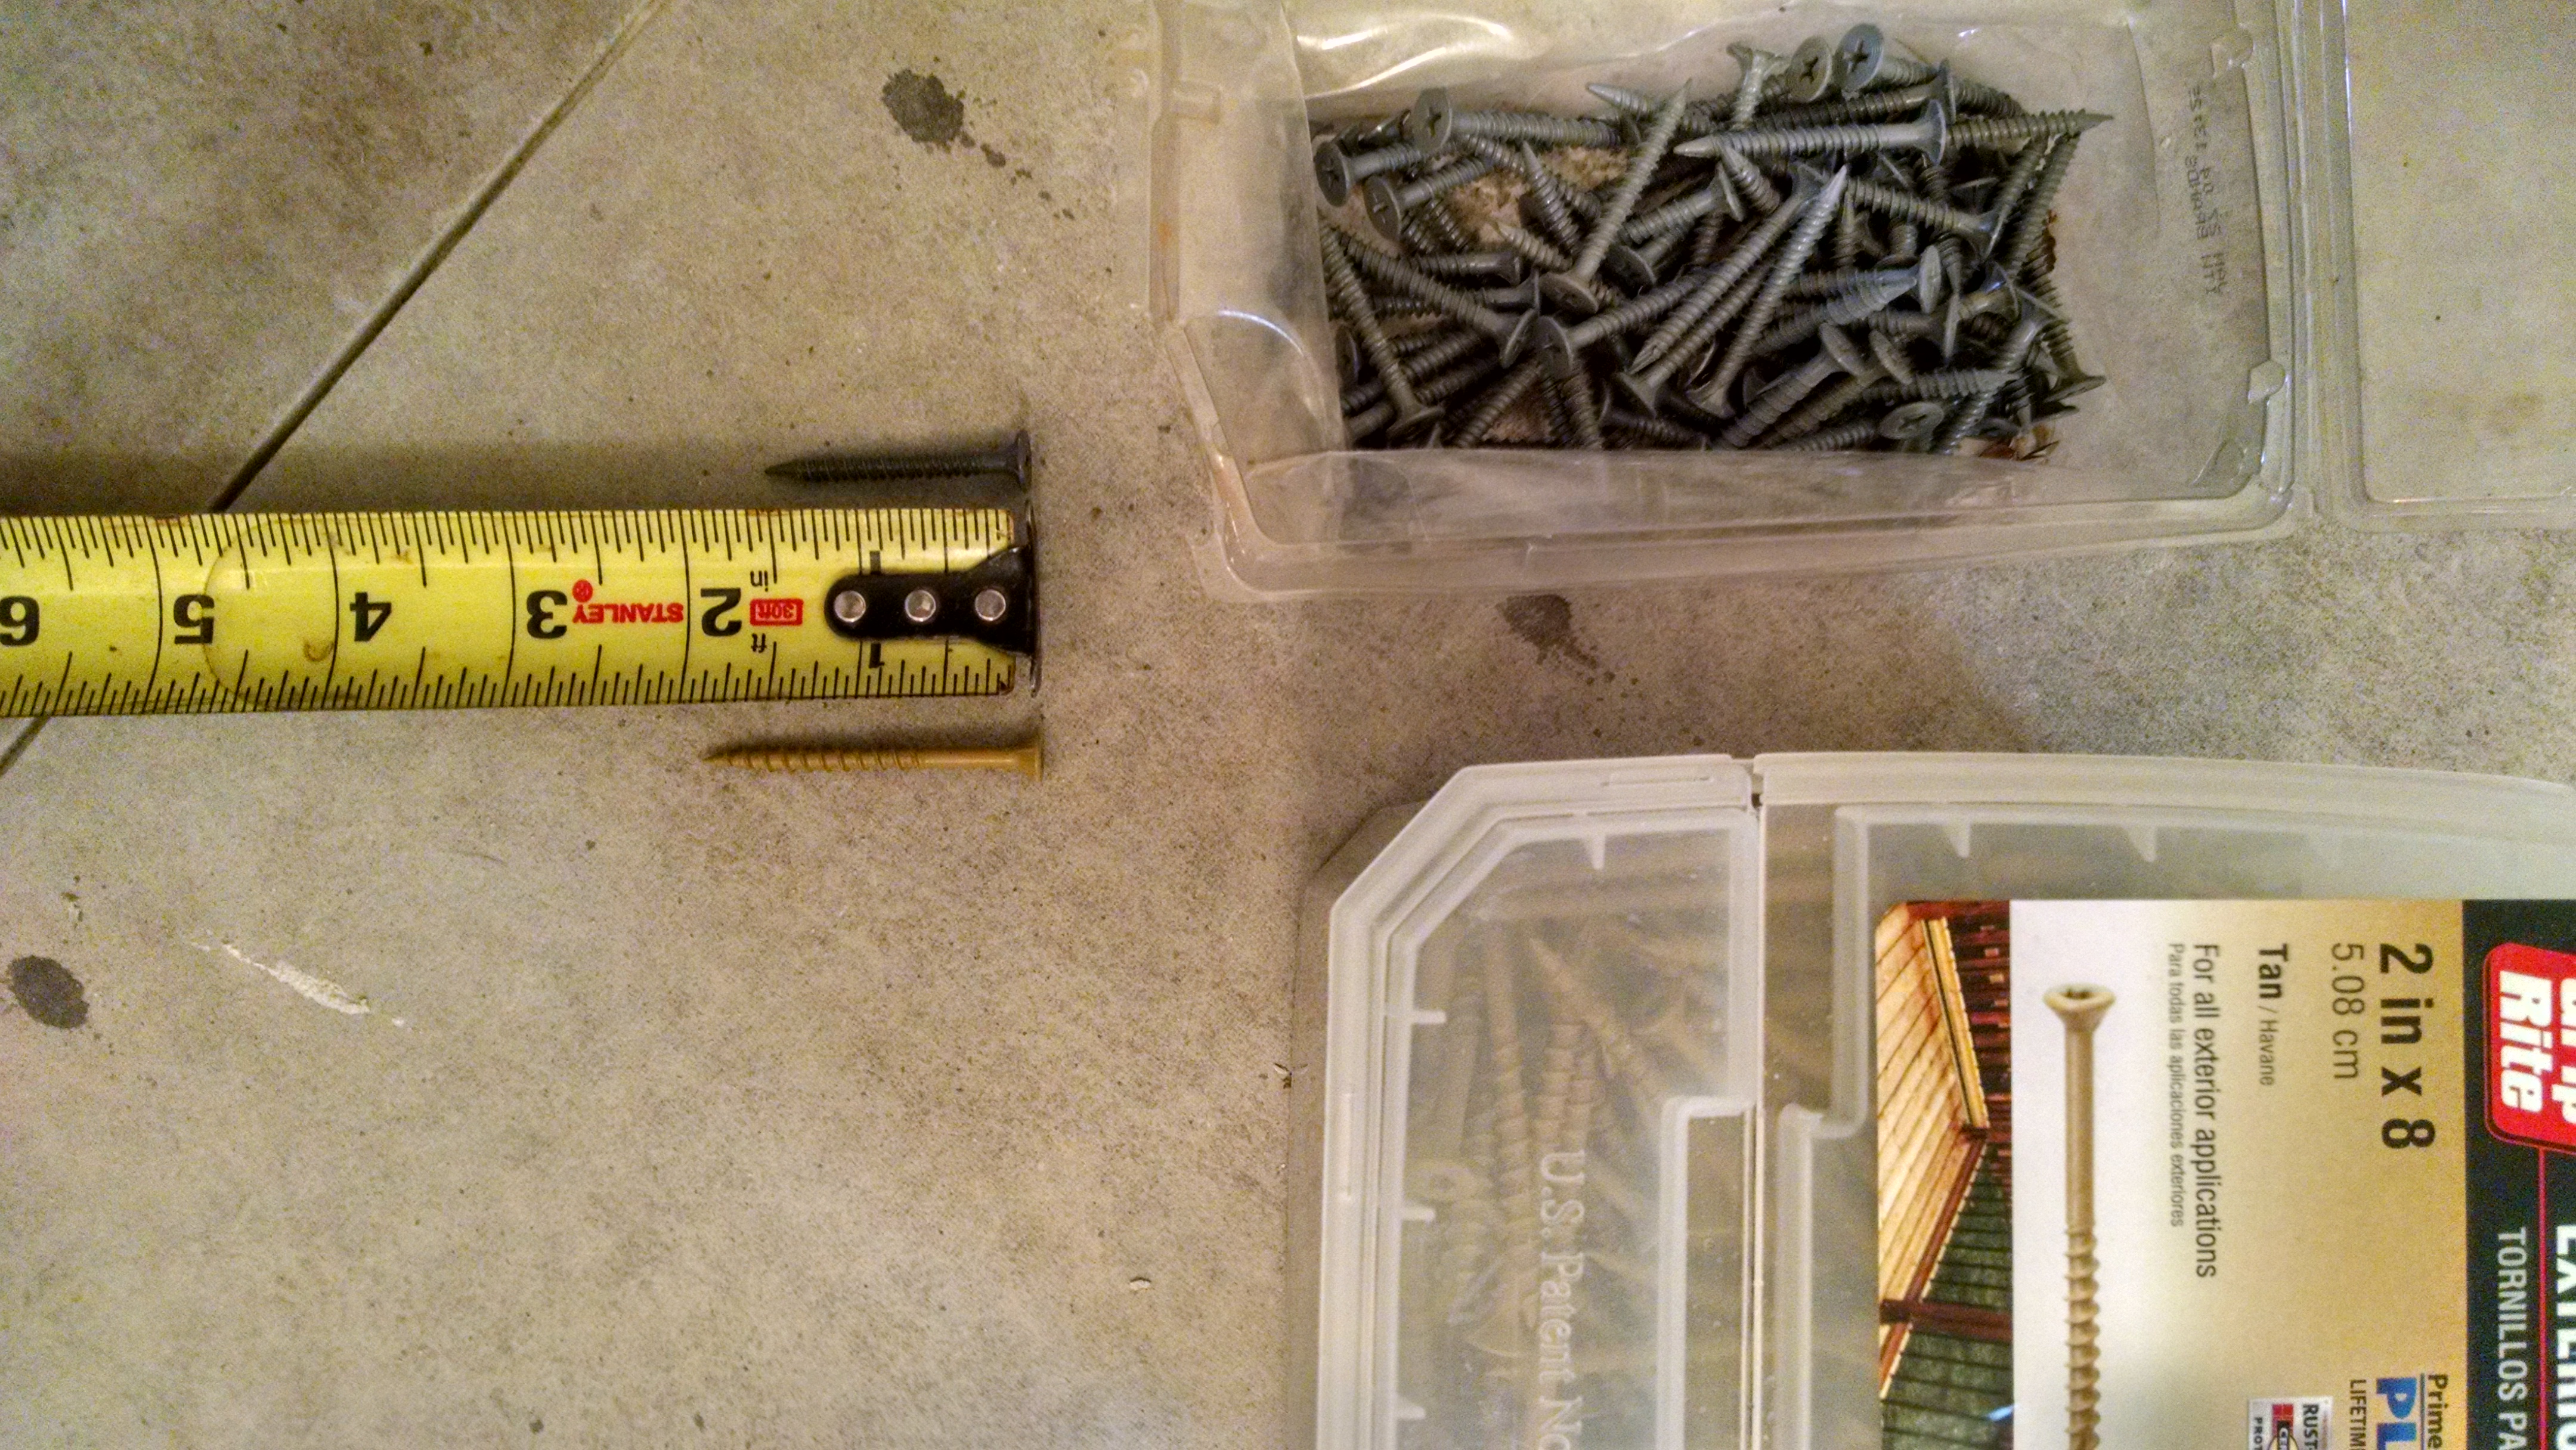
Your screws should be the right length to go through the underlayment and almost through the subfloor. This floor had a 3/4″ subfloor, a 3/4″ hardwood floor, and 1/2″ cement board. =2″. Don’t try to screw into the floor joists. I like to use deck screws, but you should use cement board screws, because that’s what you’re supposed to use. No drywall screws. One screw on each “x” on the board. I think they’re 6″ apart. So many screws. If you have a floor any larger than this, you should mortar and screw one board at a time, as the thinset starts setting up pretty quickly. Make sure the heads are below the surface, but that can wait ’til tomorrow.
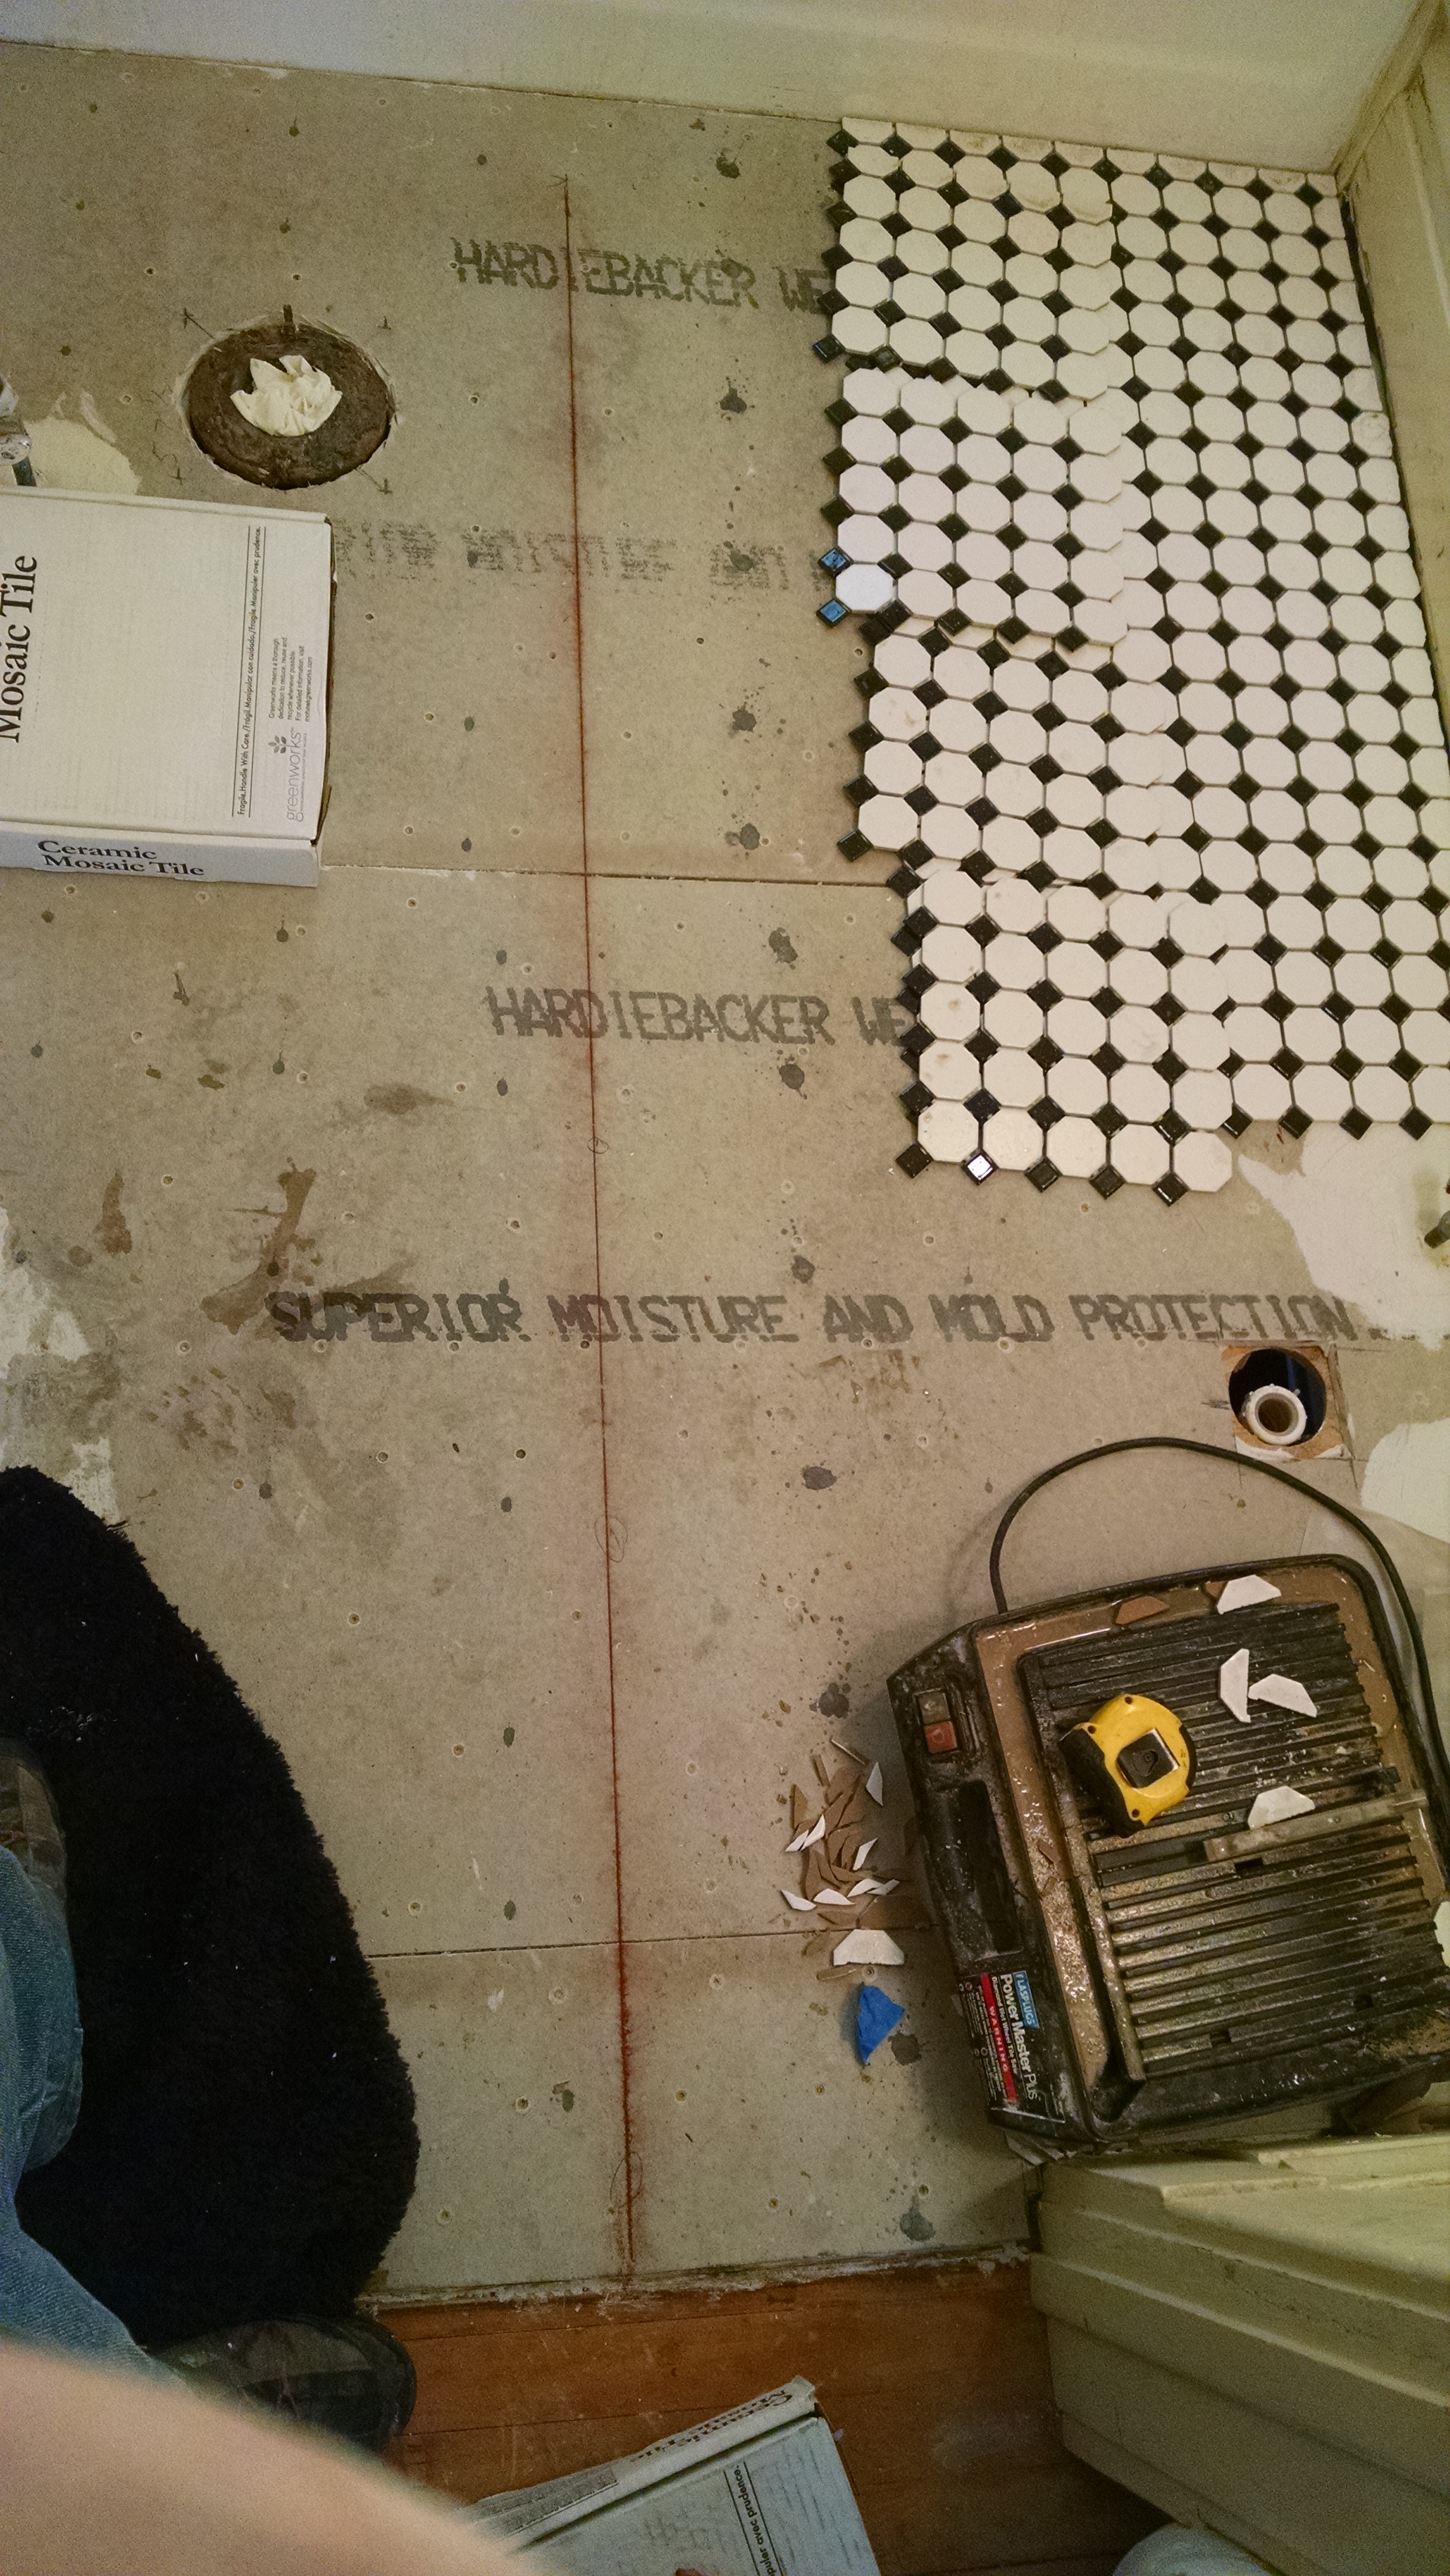
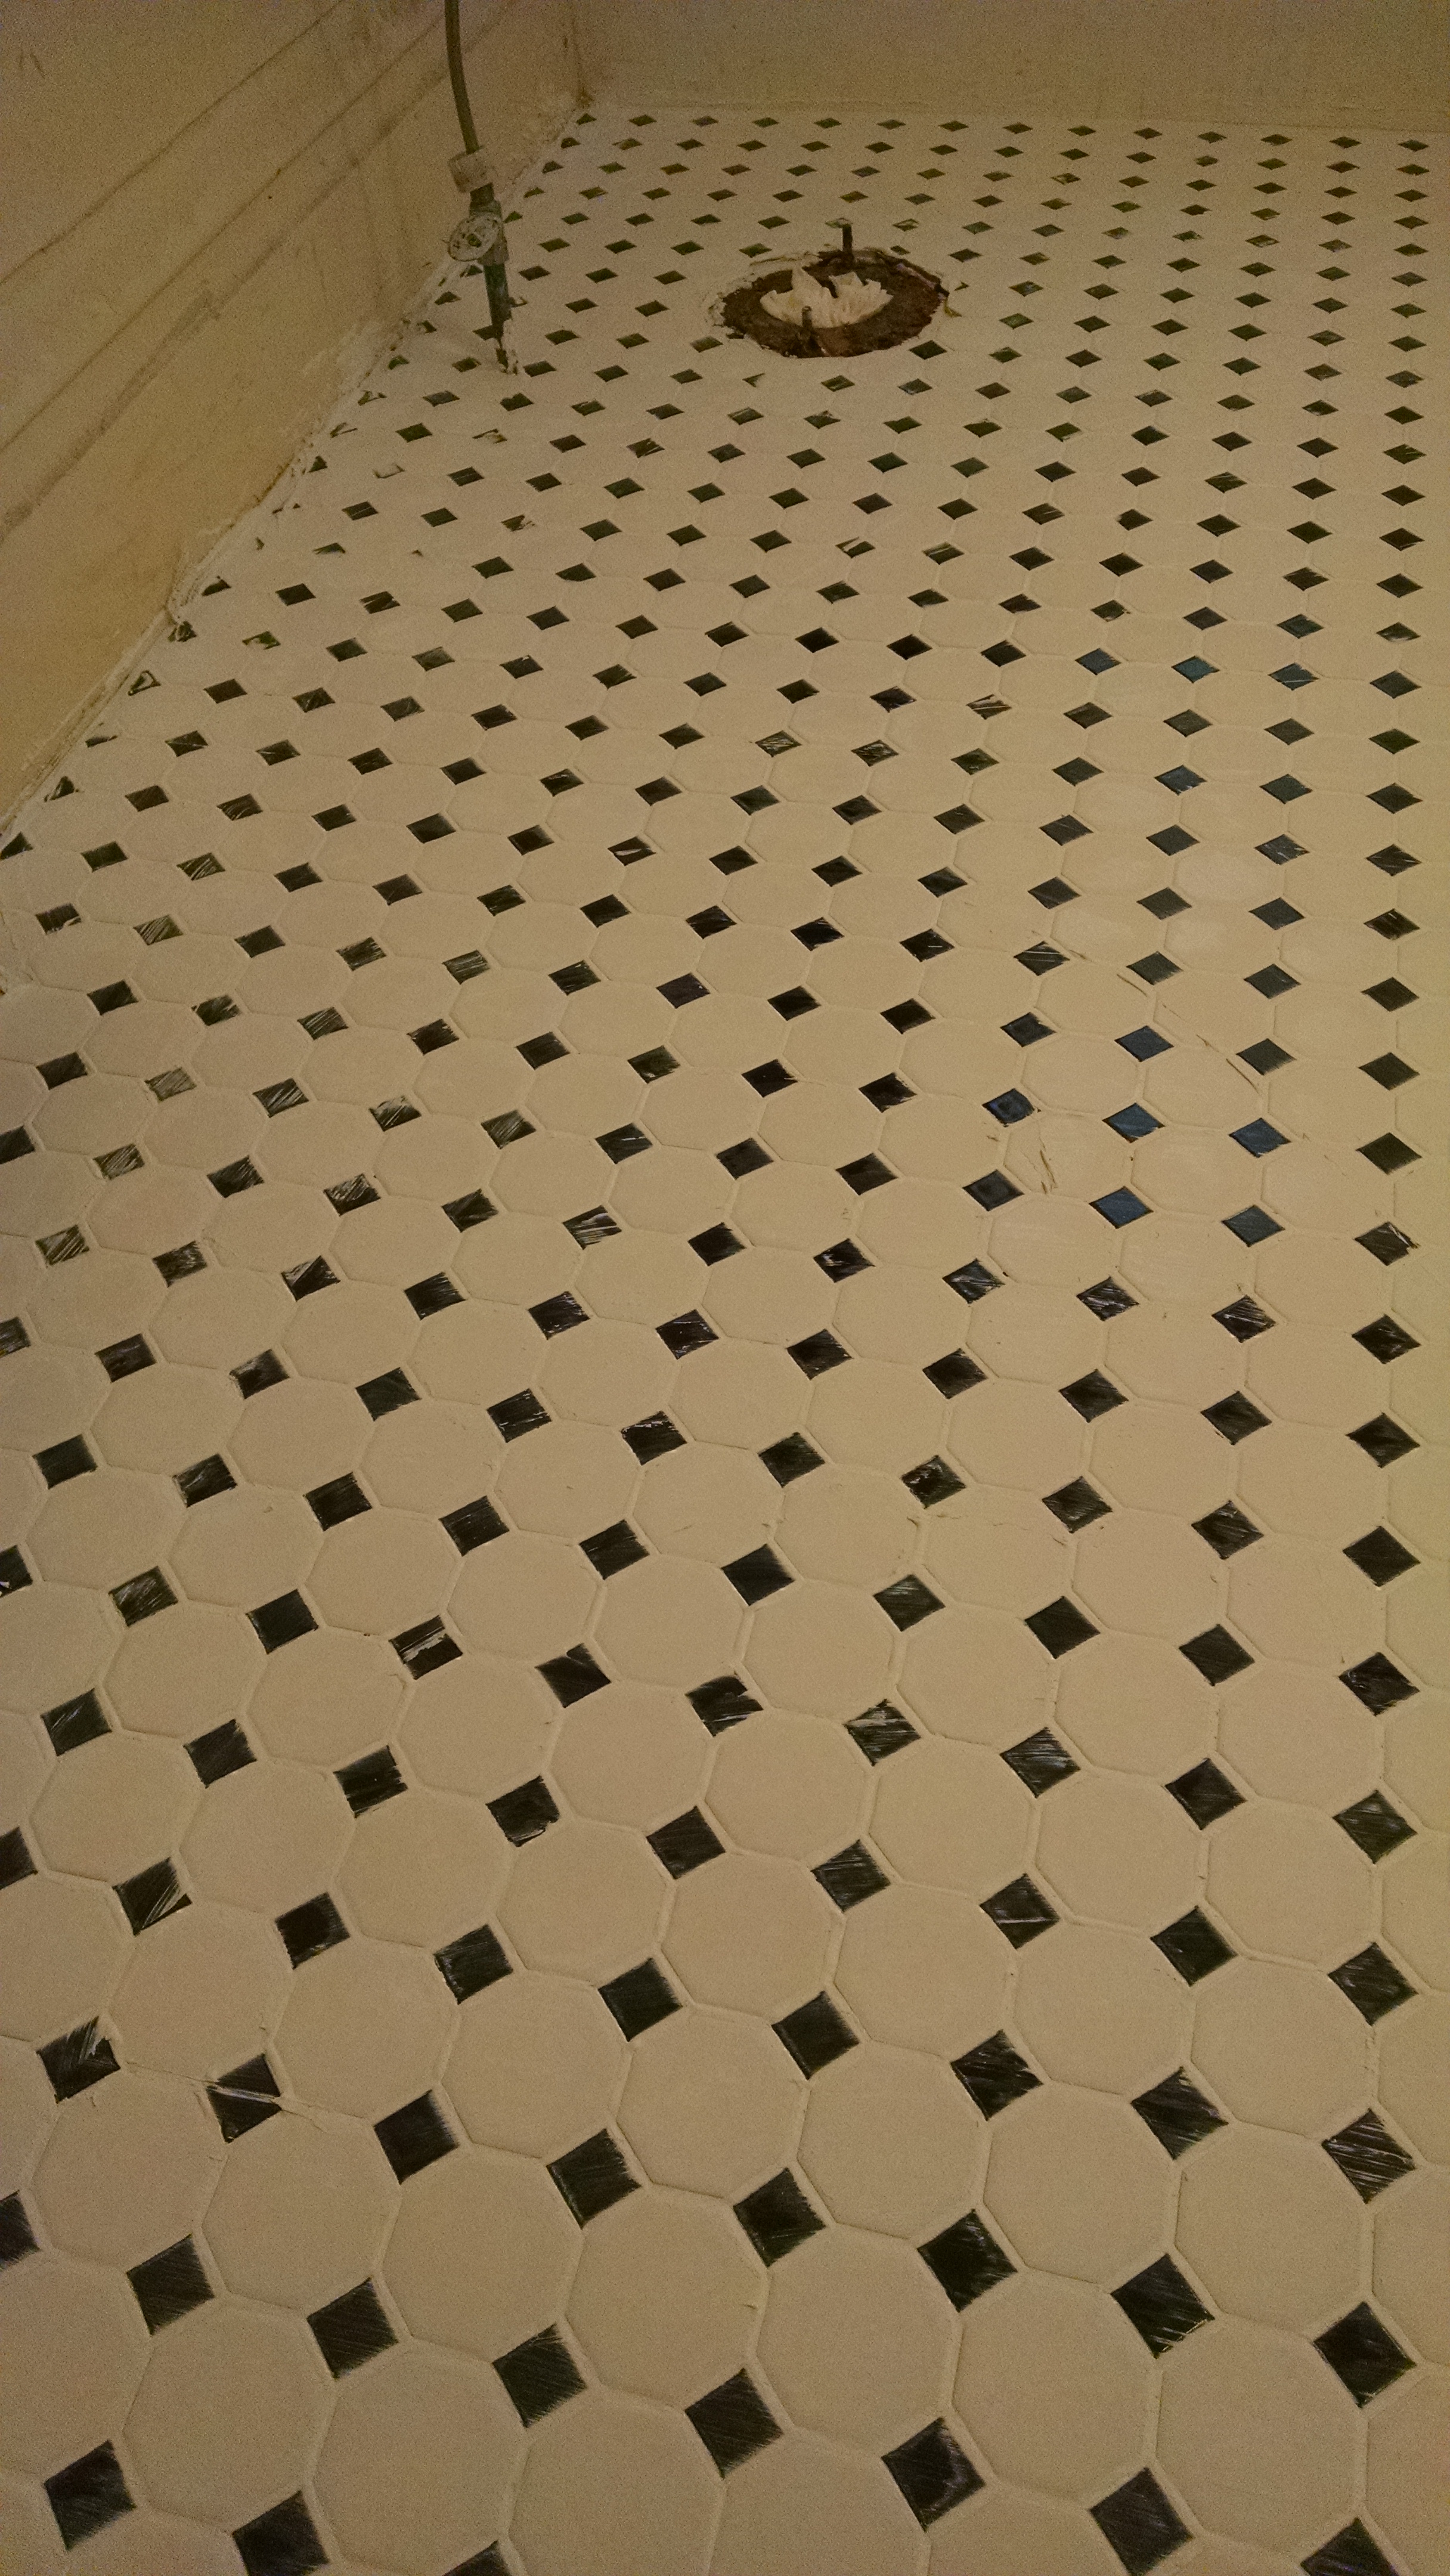
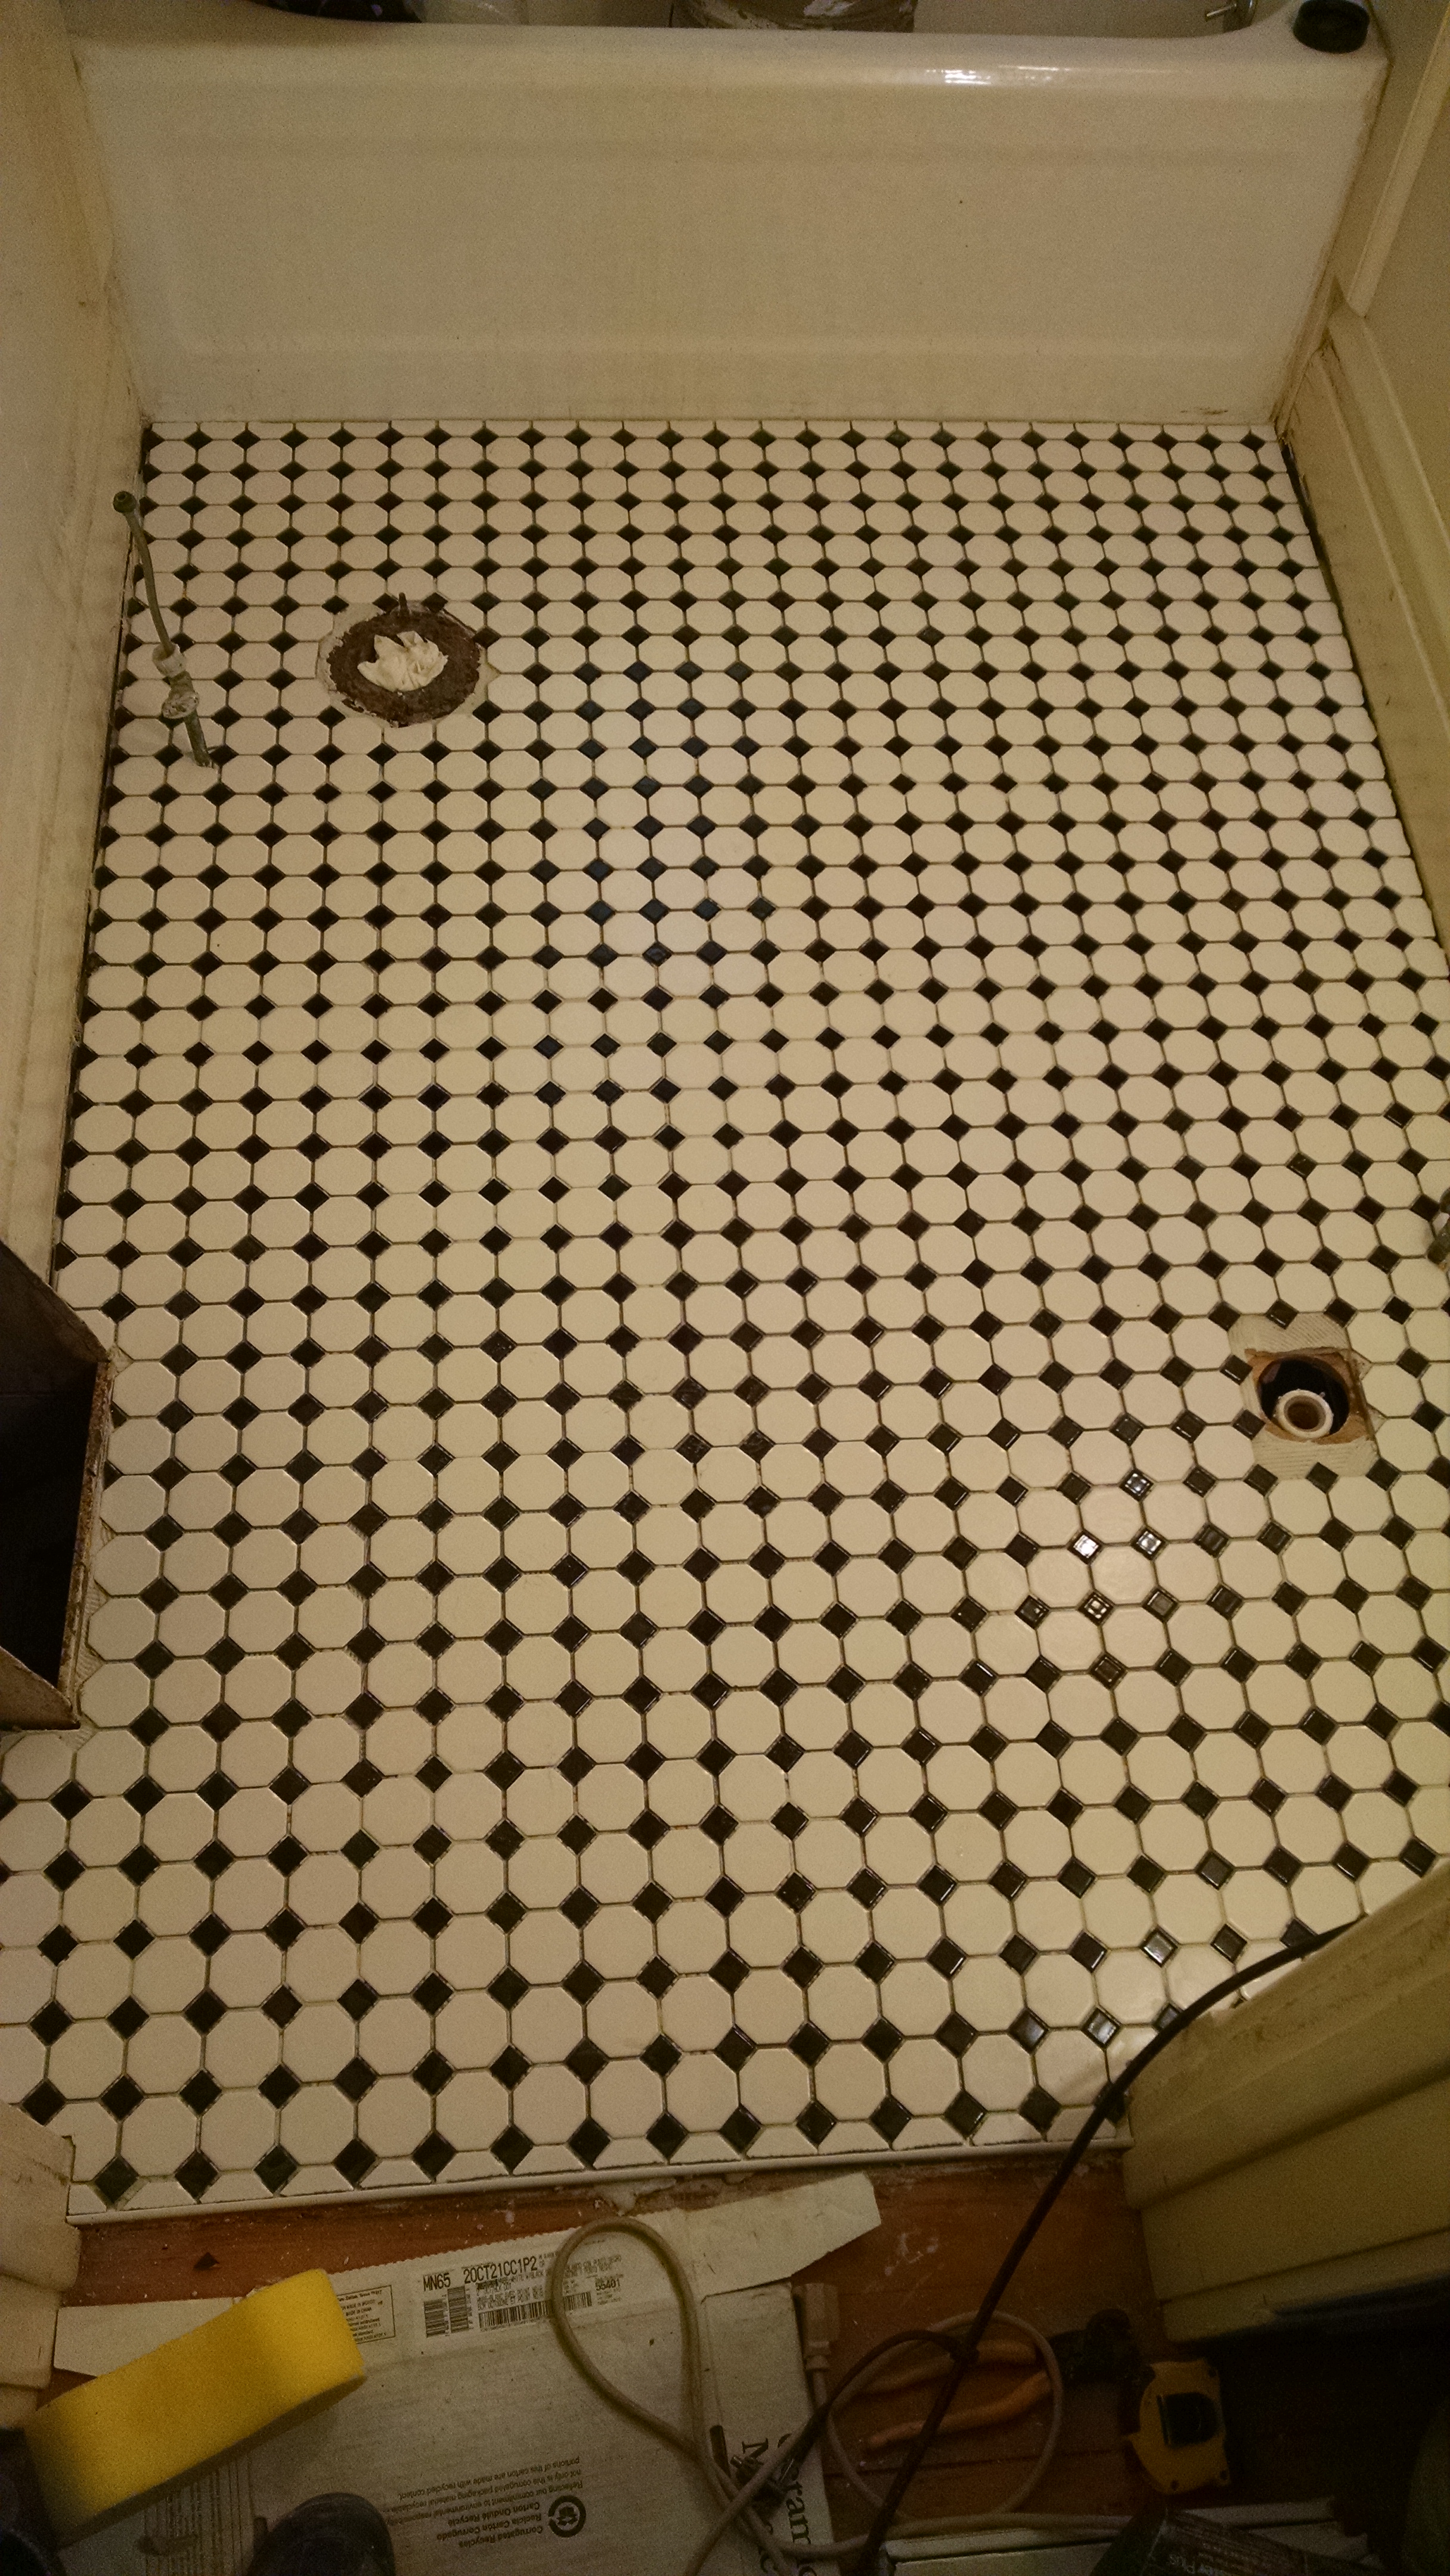
Figure out which wall you want your tile to be parallel with, then figure out whether you want the middle of your tile to be down the middle of the room, or a grout joint (to be) down the middle of the room. Either way is symmetrical, if you think about it, and you must decide. (Sometimes you can use a full tile against the first wall, but…) These are mosaic tiles, so it doesn’t matter. Line up some tiles across the room, and try to not end up with a grout line very close to the wall, after you put the base shoe back on. Take your time. Coffee. Measure. Figure it out. Snap a line down the middle, but parallel with the best wall. Now put a tile right on the line, centered on it. Where will the joints be? Now try the edge of the tile on the line…Snap another line to represent the edge of your tiles, if you need to. Mark which line you want! Now figure out the same thing at 90 degrees, and snap a line across the room. Sometimes the tub isn’t square with the wall, and you don’t want to end up with an enormously wide grout line at the end; That’s a sign of beginner work. Better to cut tiles to fit. In other words, you might have a full tile against one end of the tub, and the rest will be cut to maintain a consistent grout line. Not skimping.
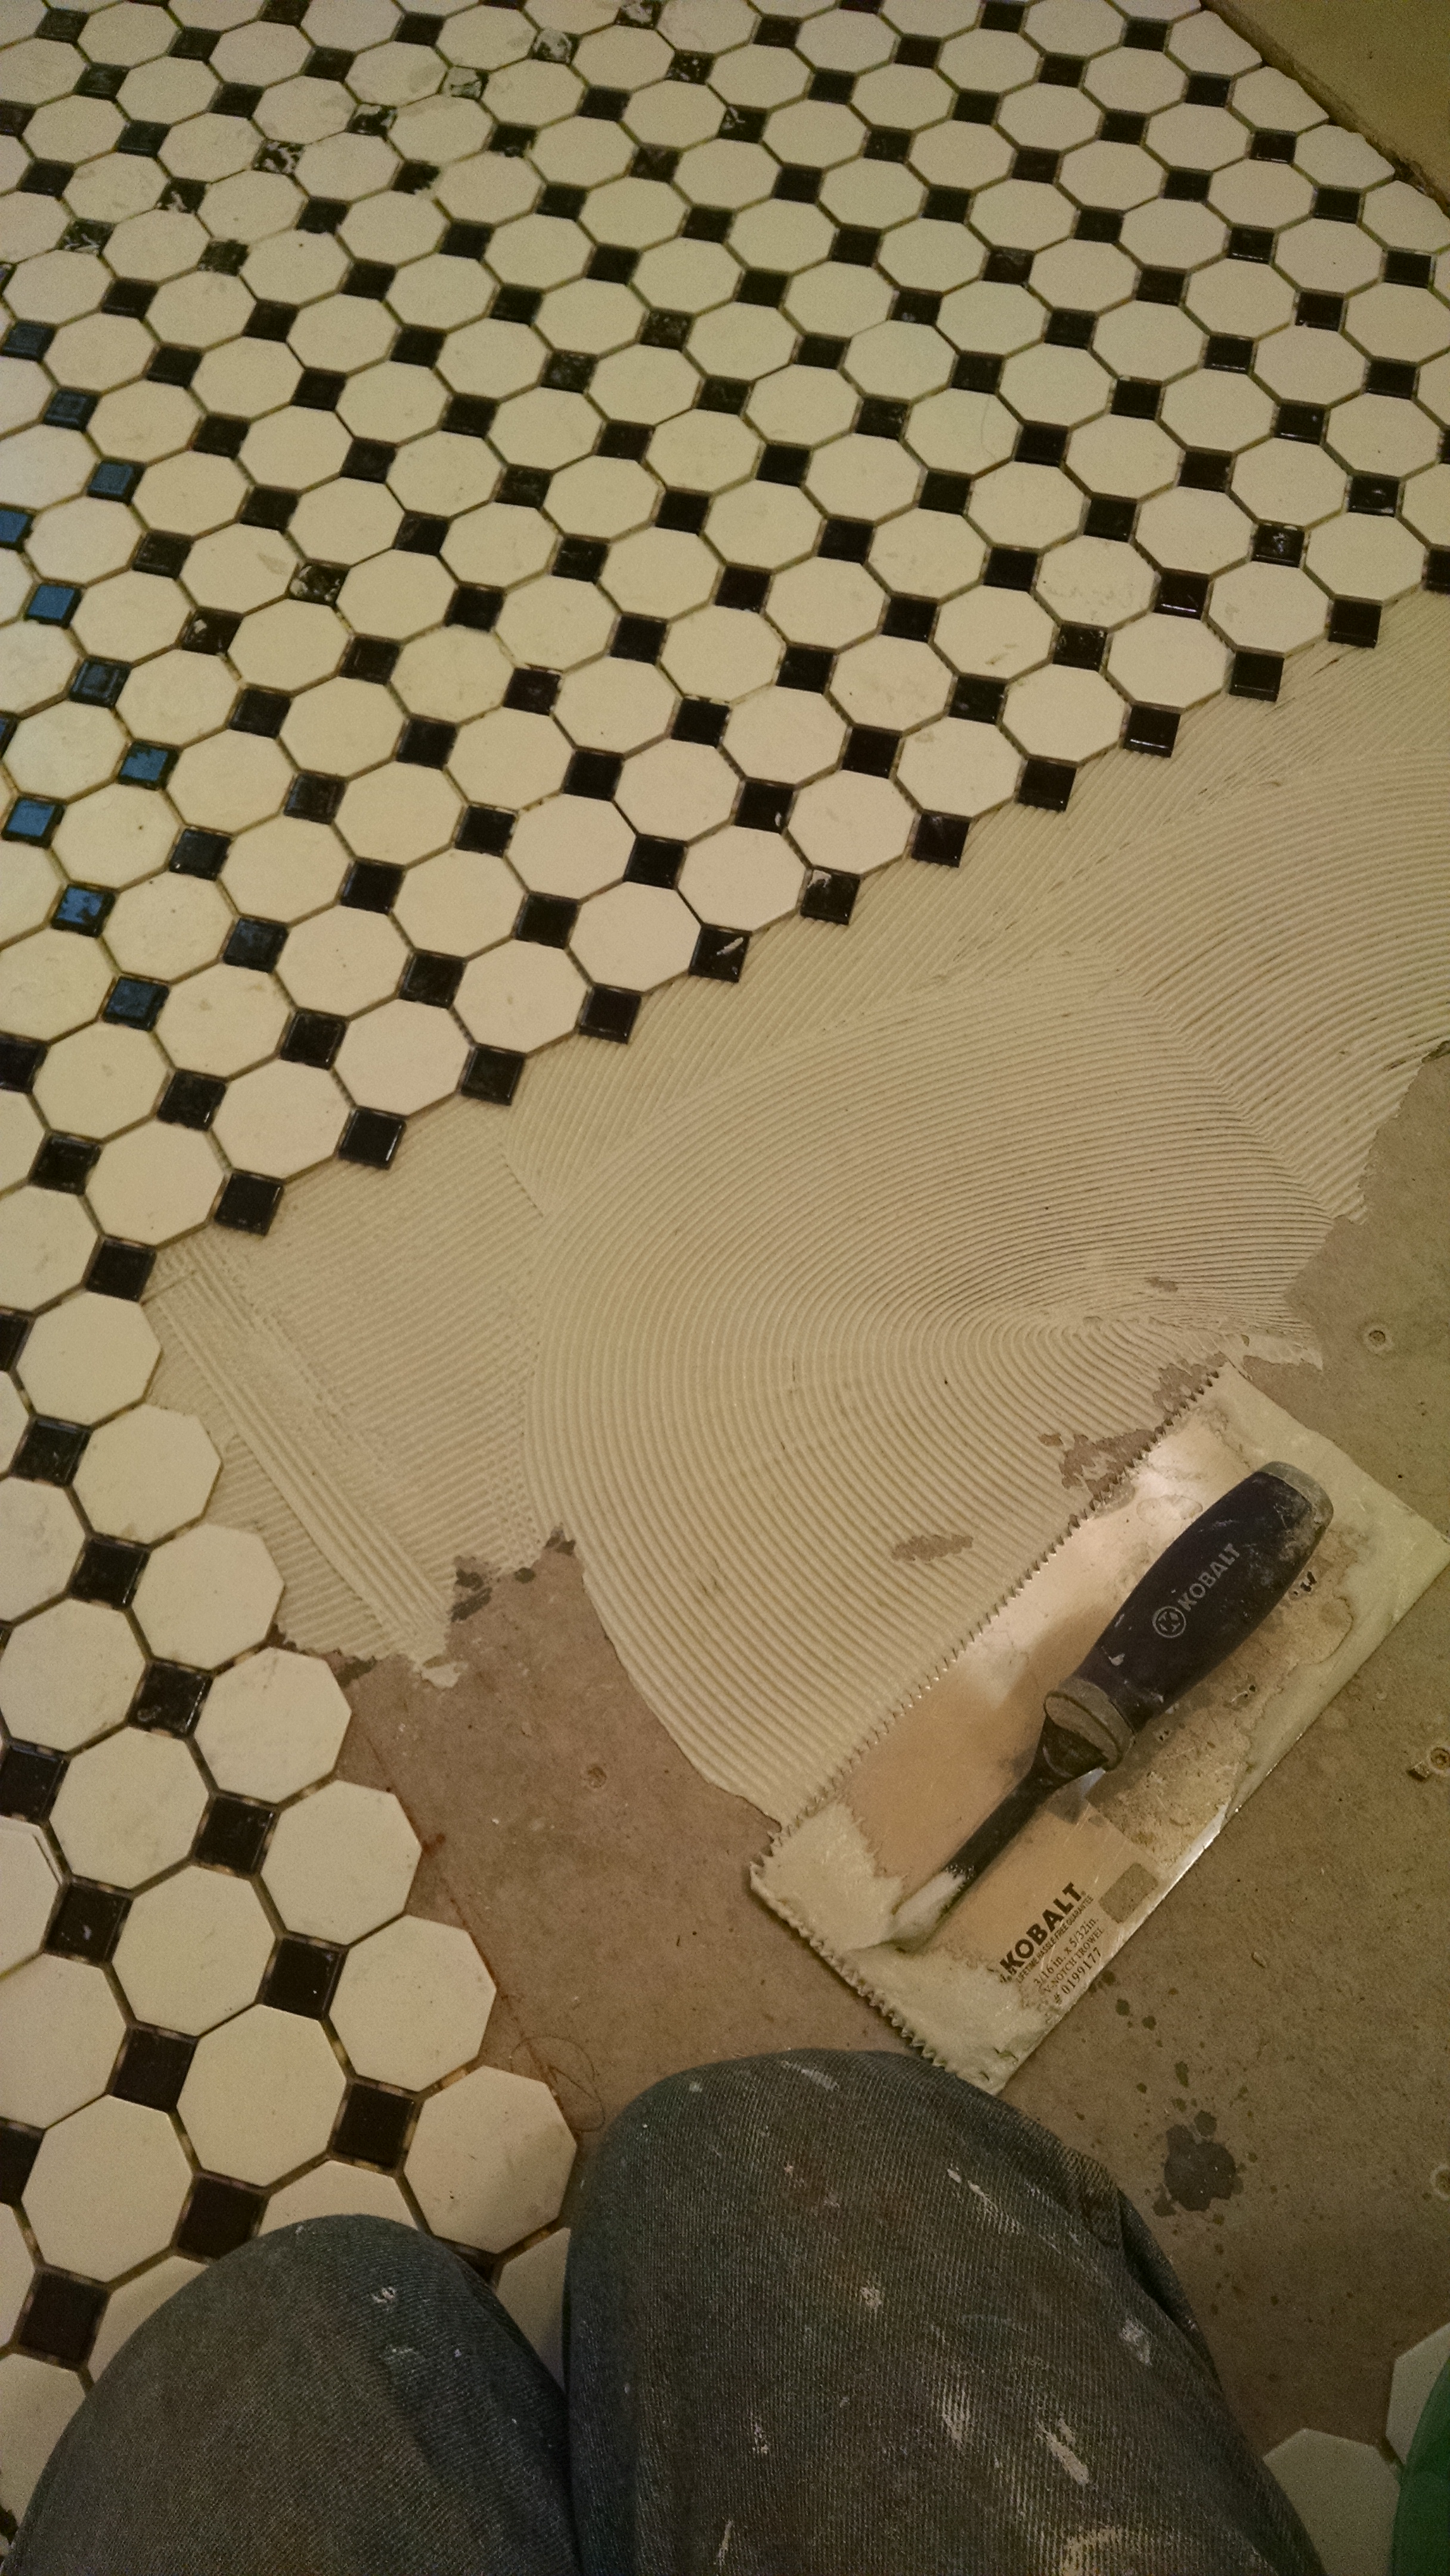
Vacuum really, really thoroughly this time. Mix thinset. Using the correct trowel for the tile type, spread enough mortar to lay a few tiles. Oh, you have rubber gloves on with the mortar always. It’s more alkaline than your skin, so even though you can’t feel it, it will make your fingers dry and cracked pretty soon. Vinegar or lemon juice will bring the ph back to normal. Pour some on your hands to counteract the mortar. Use your snapped lines to begin. Don’t cover them with mortar. Lay tiles, twisting slightly and pushing each one into the mortar bed. You’re essentially laying one quadrant of the floor. Lay as many full tiles as you can, carefully scrape up the mortar between the tiles and the wall, then do the next quadrant, spreading thinset and laying tile as you move backward out of the room. (Oh, kneepads!)
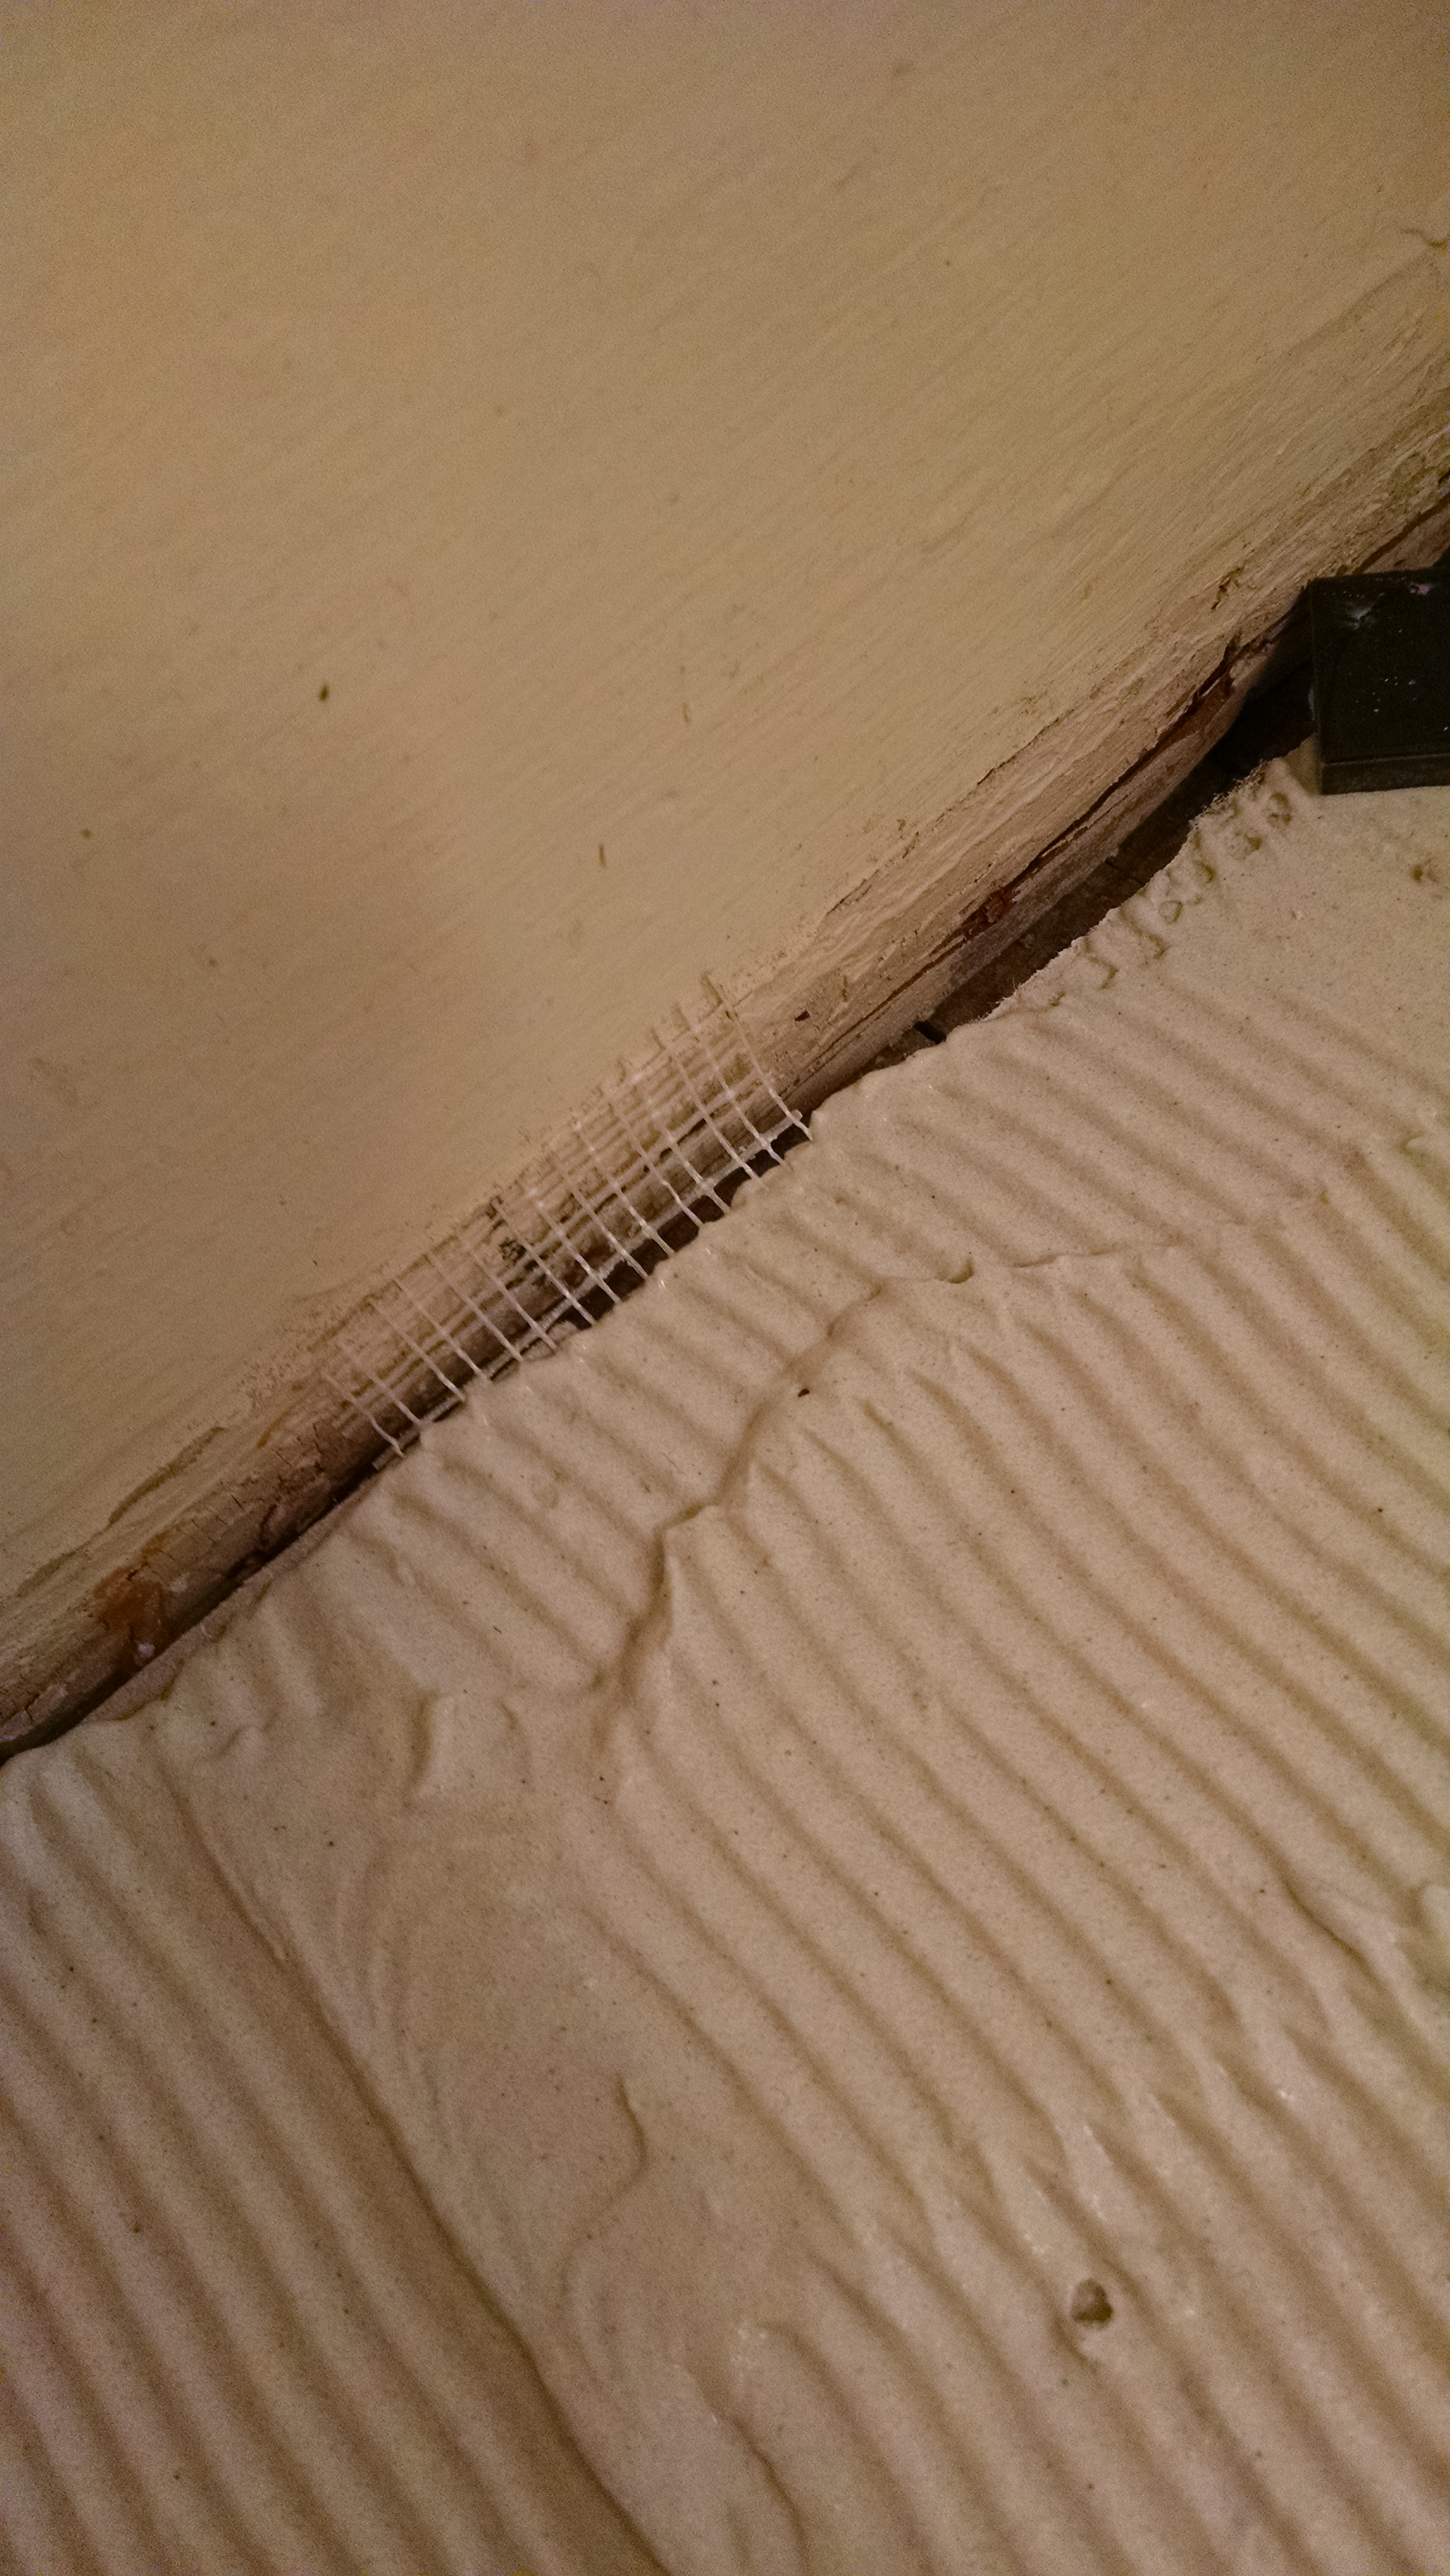
Okay. Perimeter tiles: Usually, we want to do these tomorrow, so that we can set up our tile saw and take our time. This is why, as we’re setting these full tiles, we have to scrape up the mortar around the edges as we go. It’s best not to put weight on our freshly-set tiles, so plan accordingly, and clean up the perimeter as you go.
The second picture shows the mesh tape that goes over the cement board joints. You can do this either yesterday or today. Press the tape (cement board tape) onto the joint, and cover with mortar.
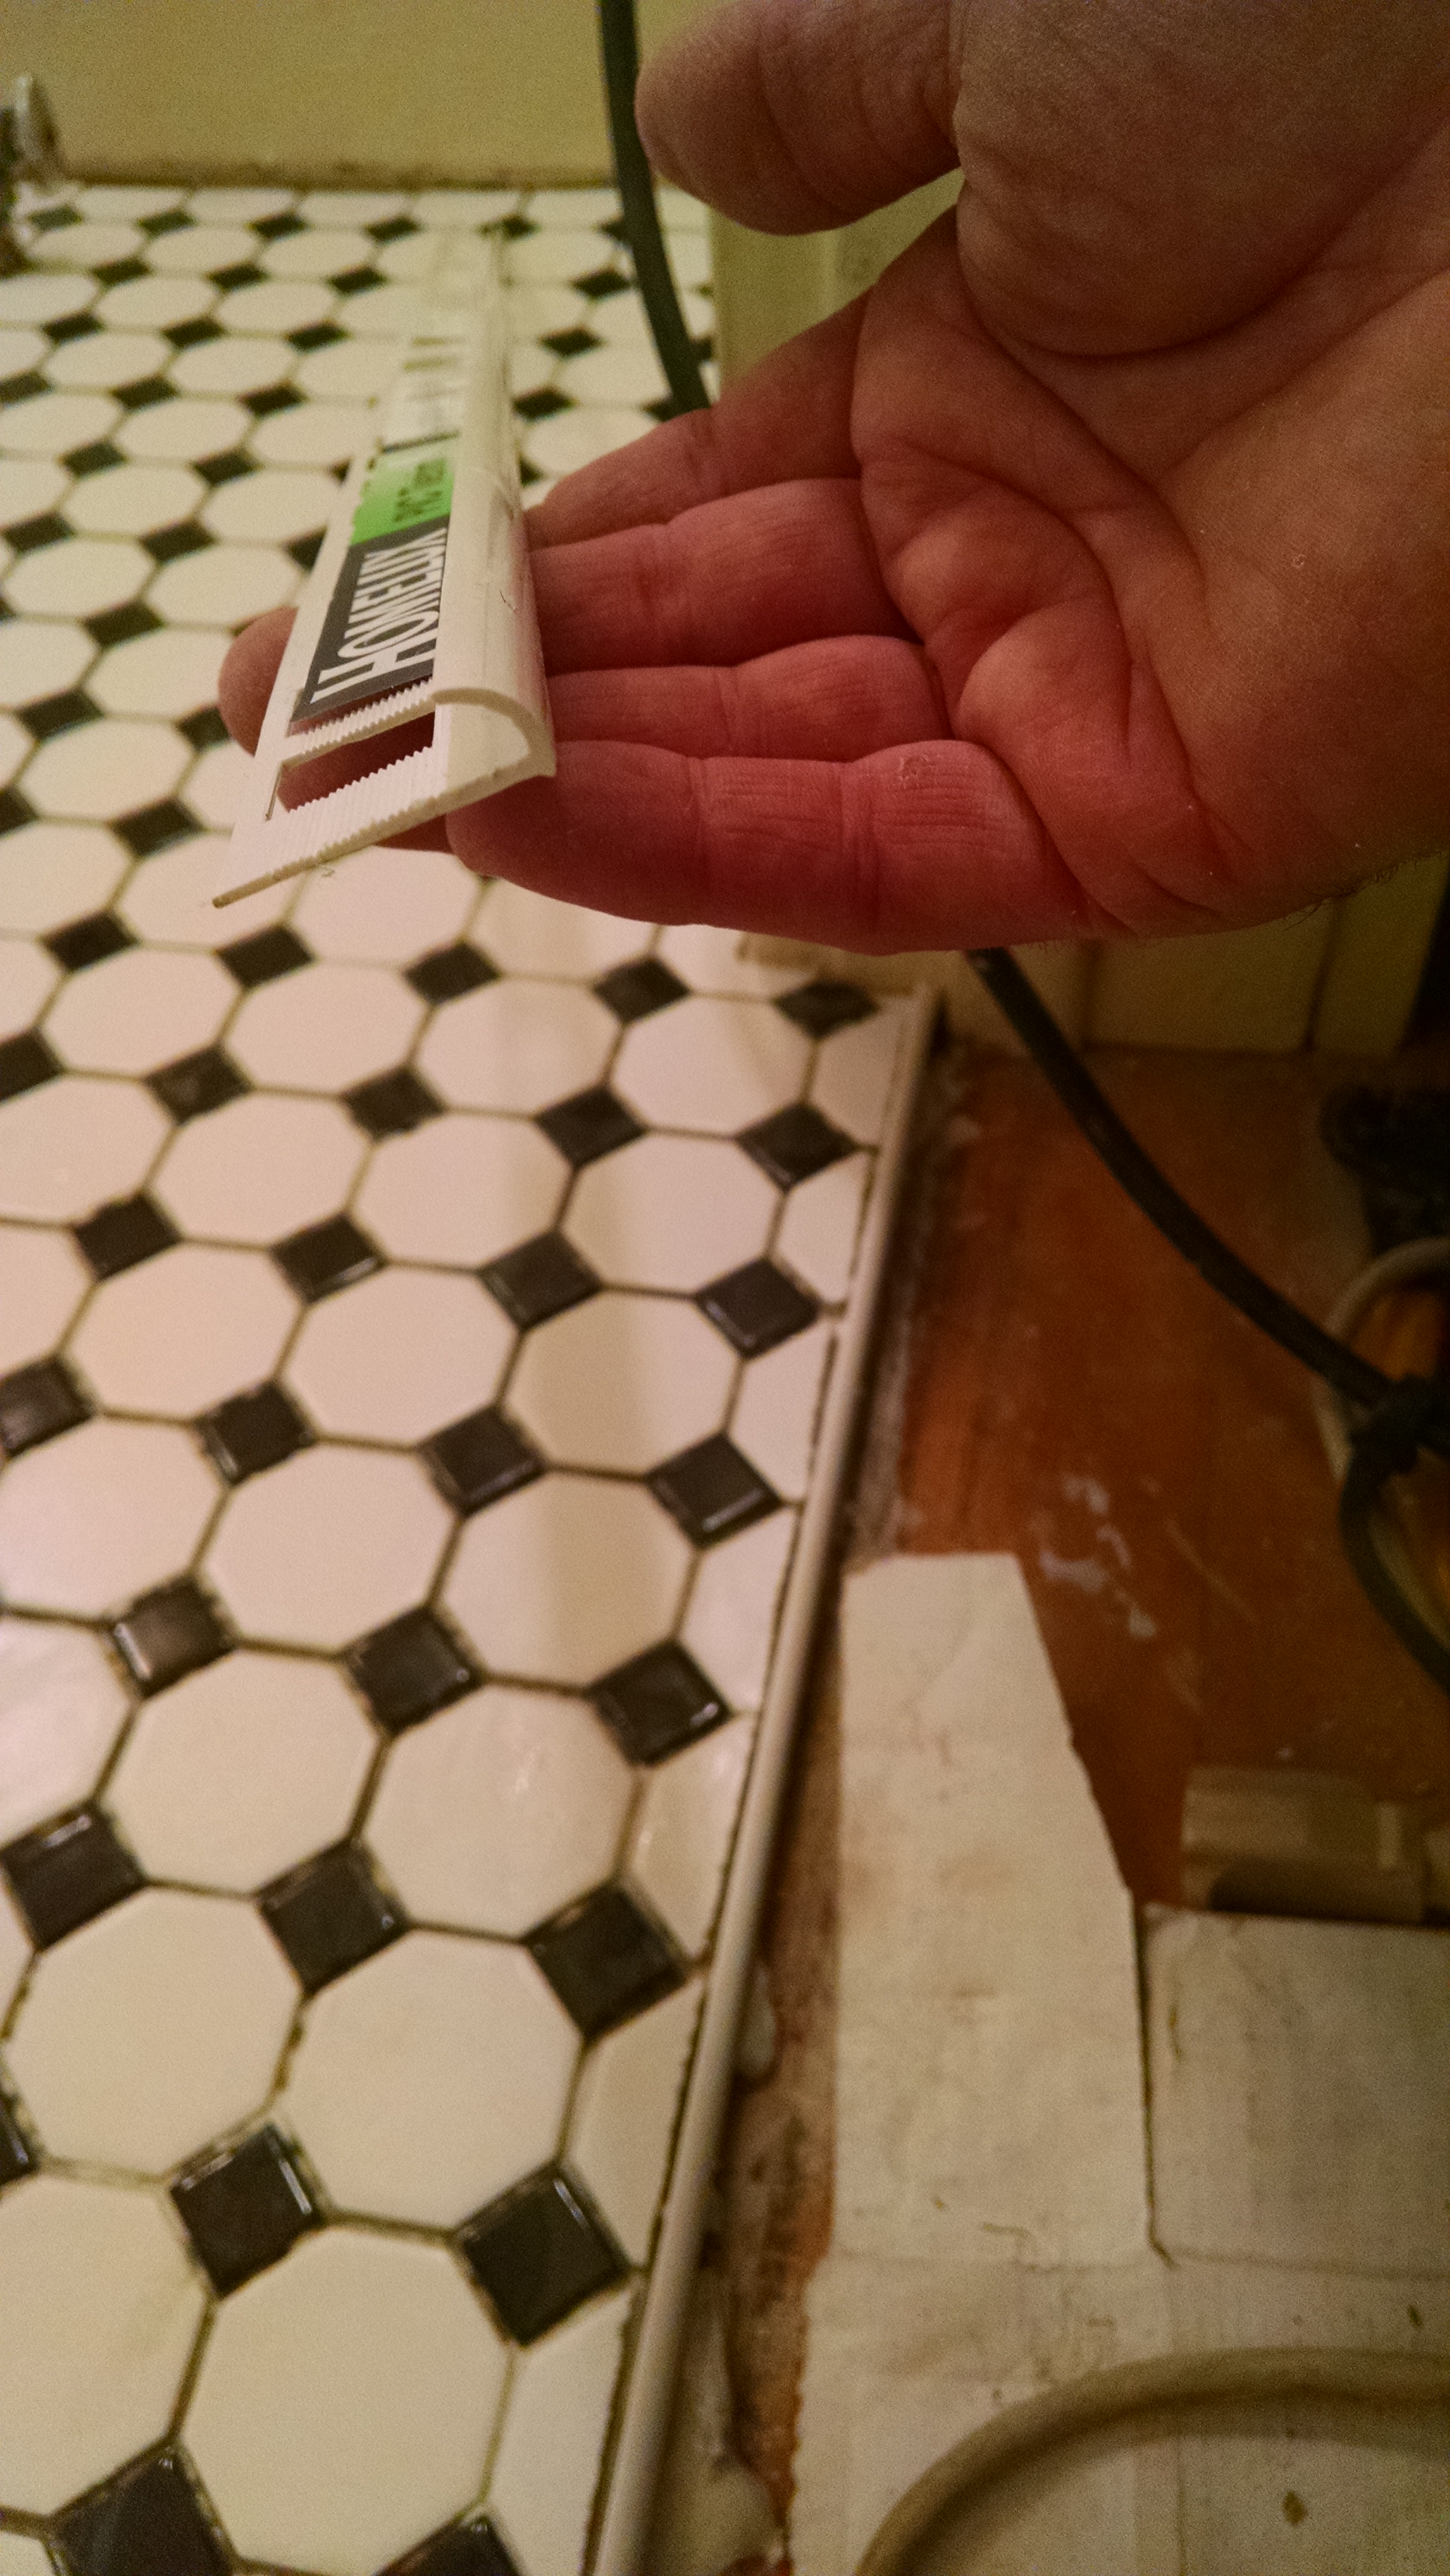
If there’s mortar coming out from between the tiles, and there will be, clean it off now. The Tile Master that I worked for said, “You can spend one hour now or four hours tomorrow cleaning up your mortar.” If you need to get on there, put down a small piece of plywood or two to kneel on. Use a sponge and/or a bristle brush and/or a piece of wood to get rid of any thinset that’s poking out. Wait another day, then take your time cutting perimeter tiles, buttering the back of each with thinset, and laying in place. Tile edges (3rd pic) go in doorways and transitions to carpet, etc. This one’s vinyl, but I think metal is best. Buy the right thickness.
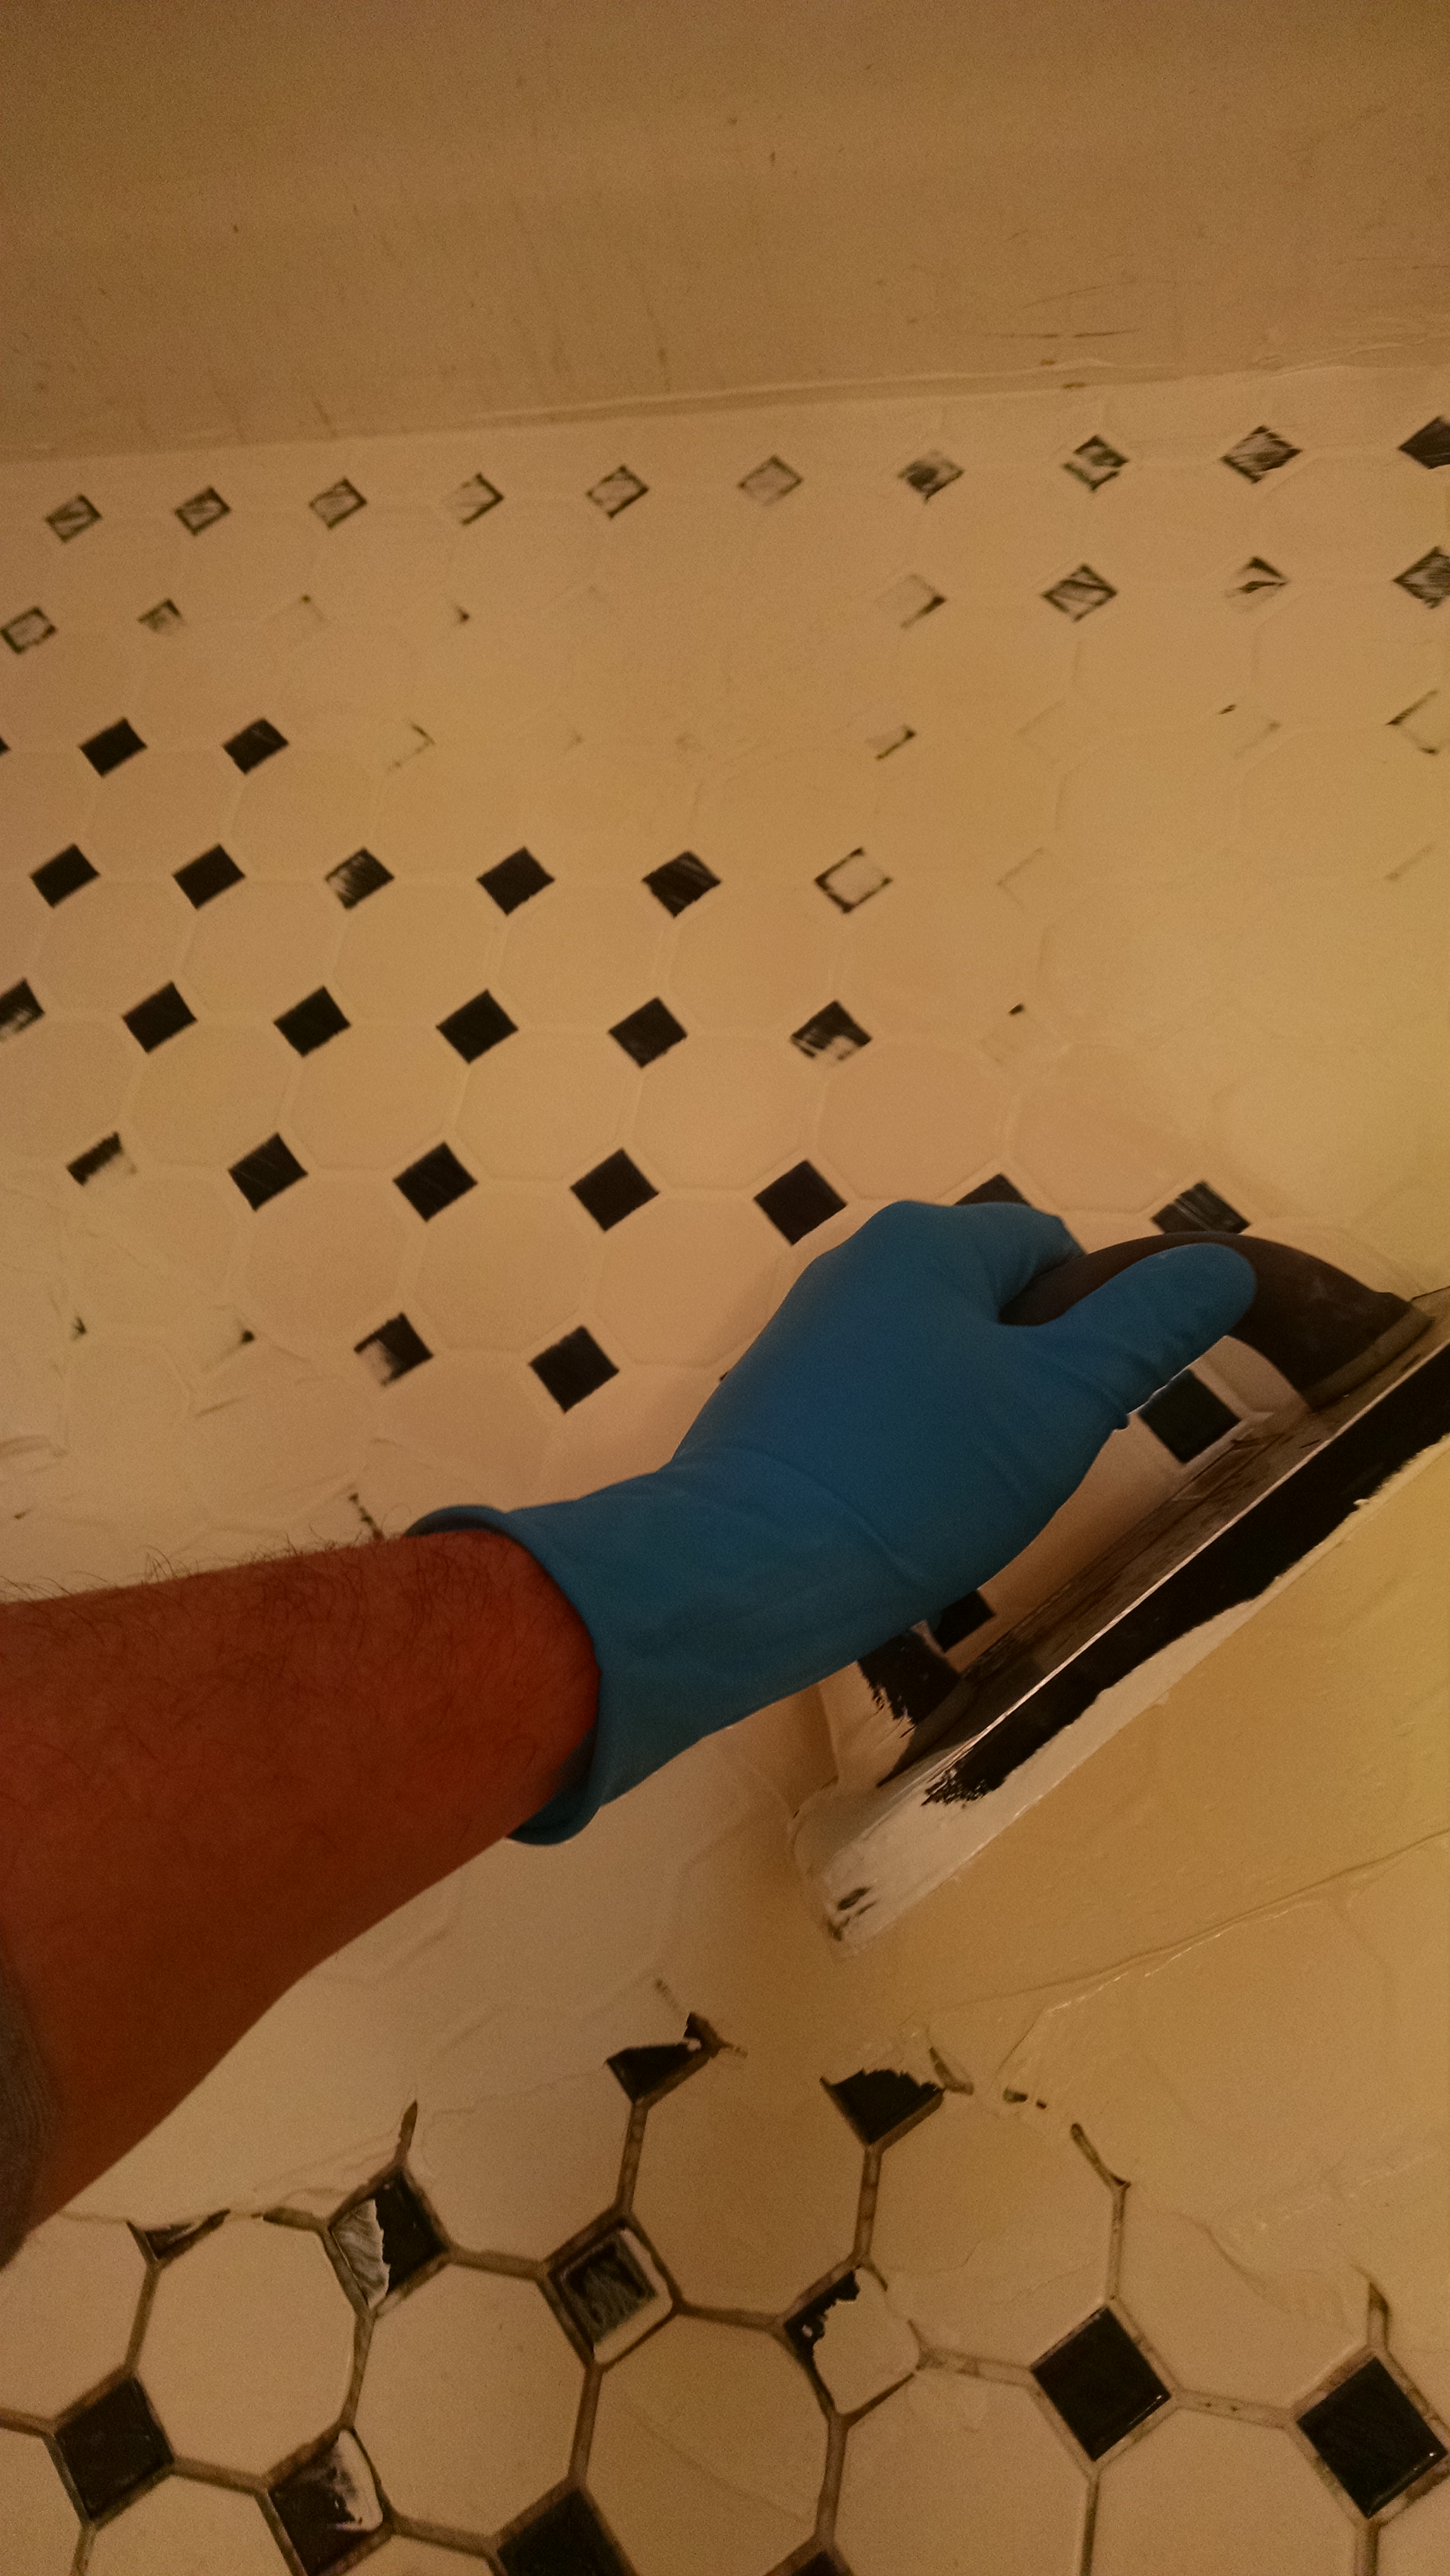

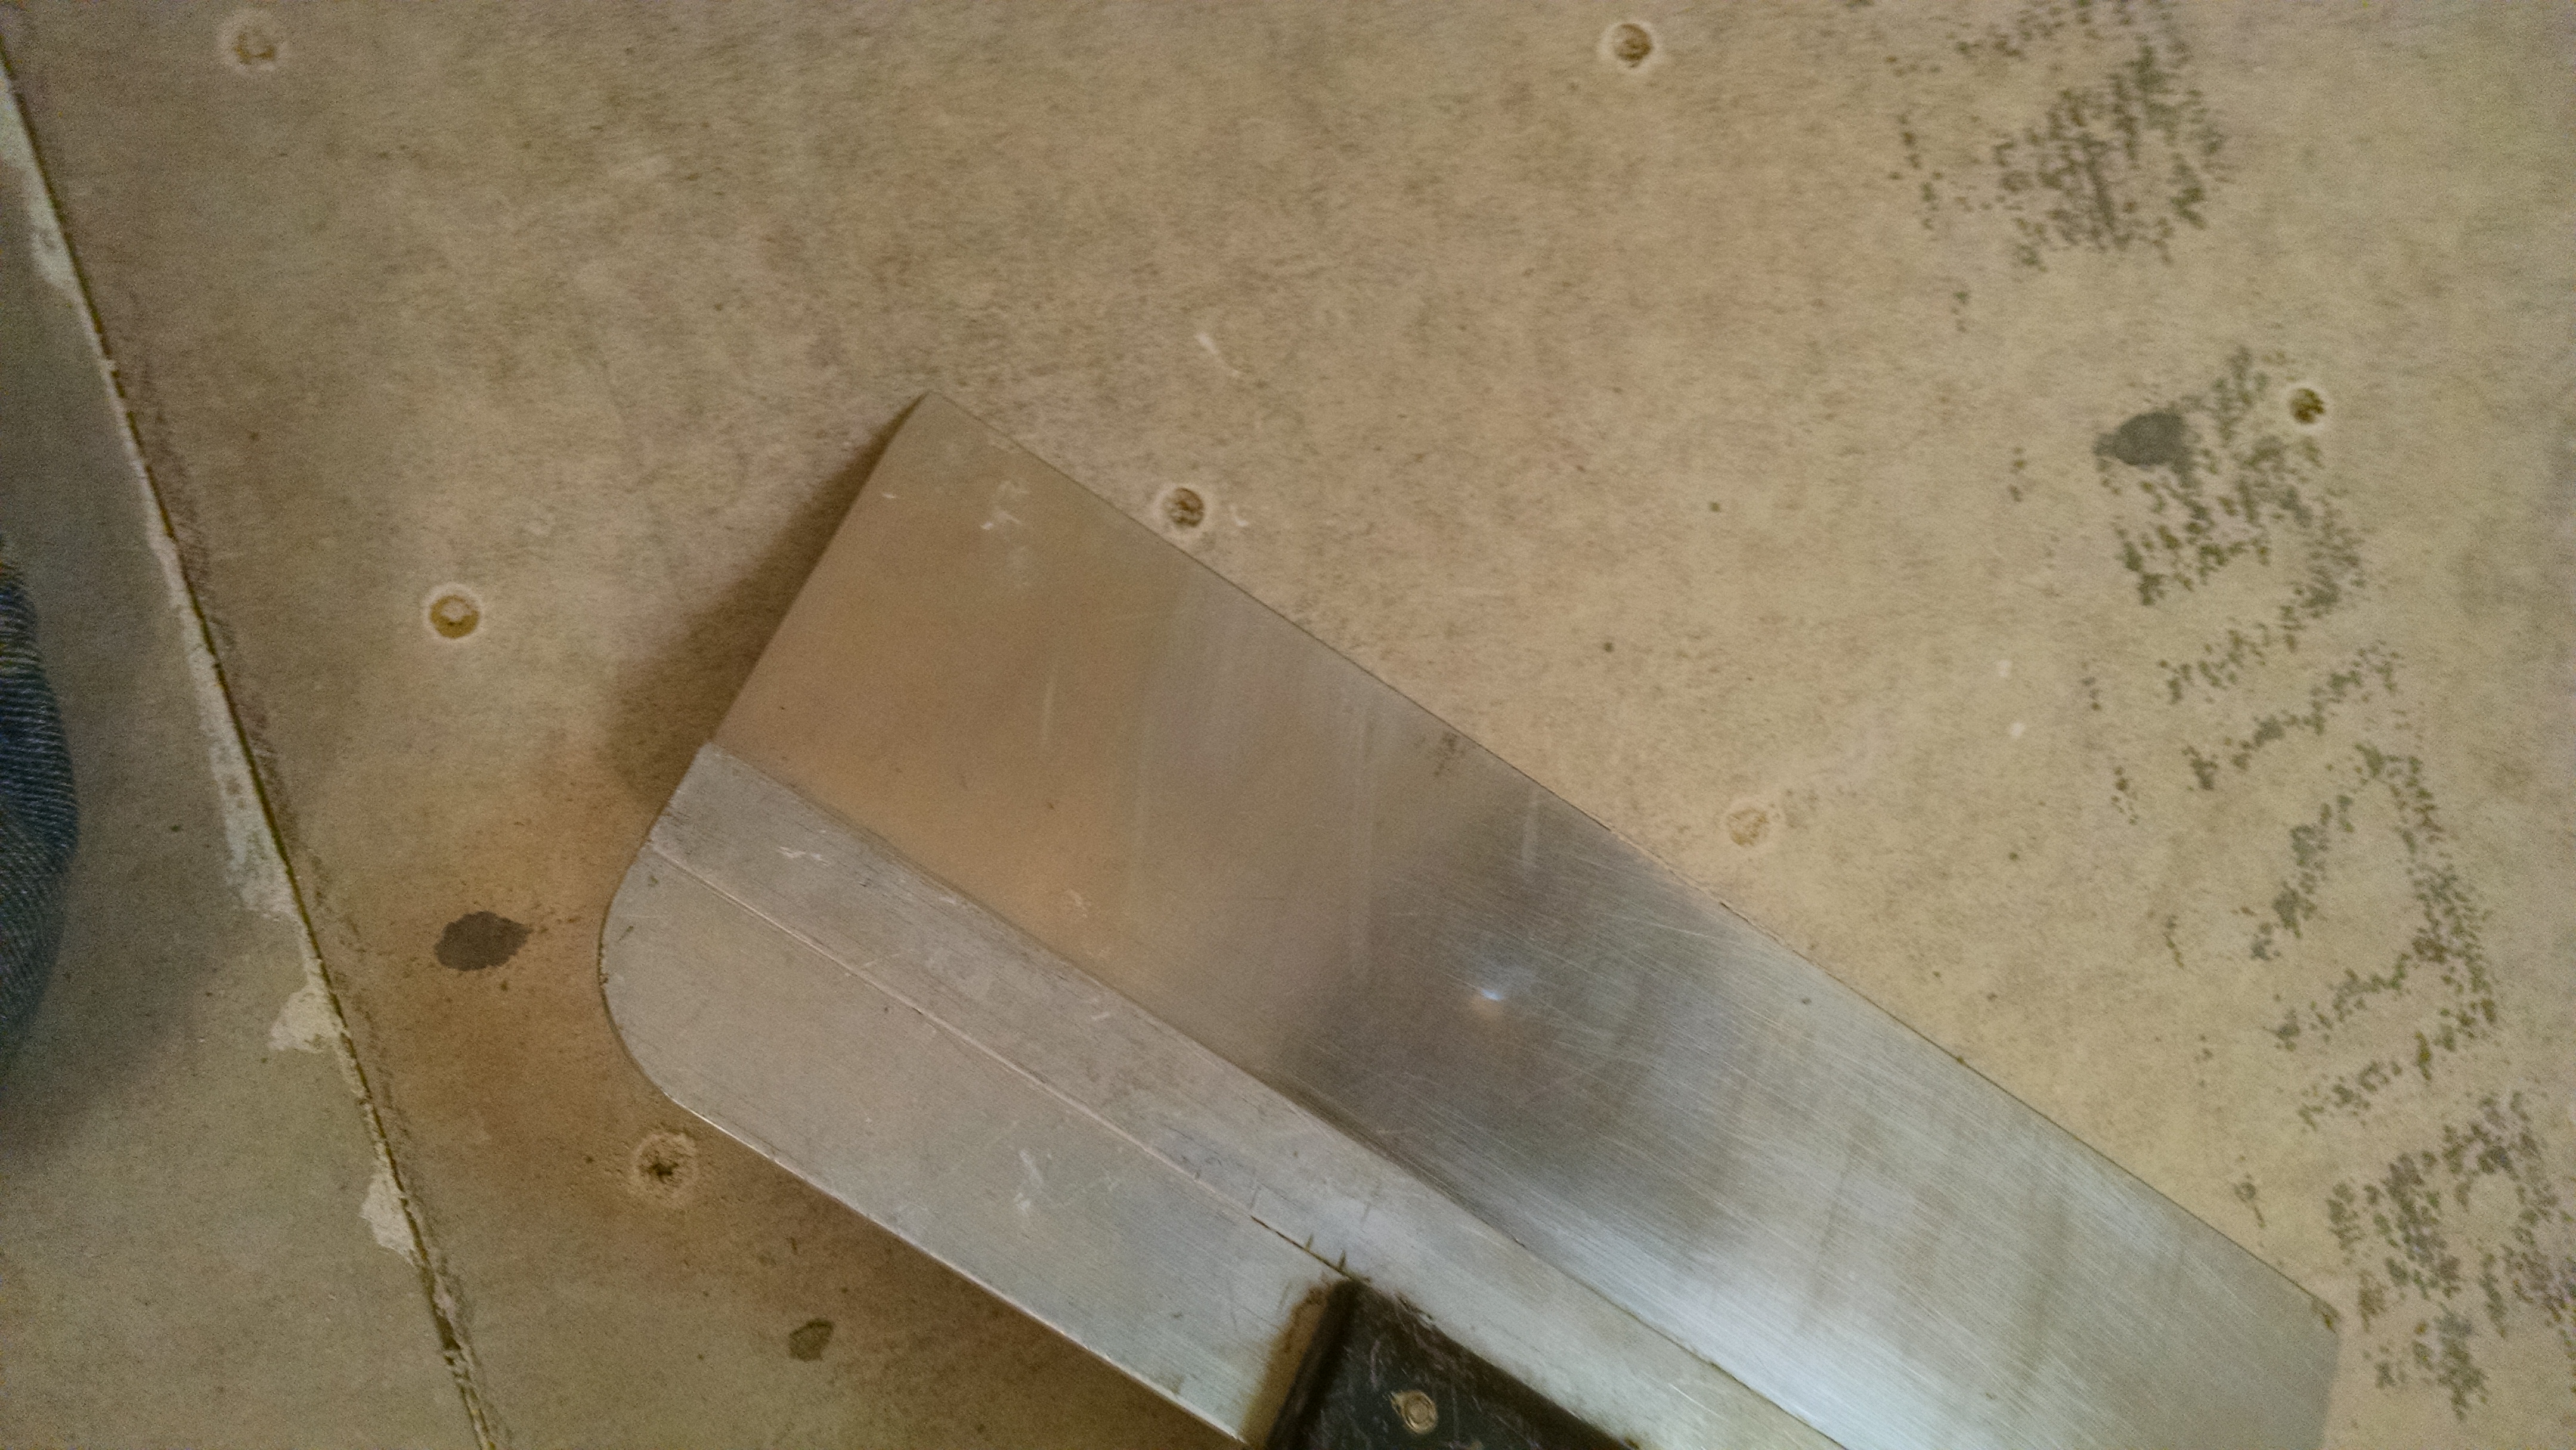
The next day, clean it all again. Vacuum, remove mortar chunks that you missed yesterday, and go over it all with a scrubby sponge. A little water in the joints is okay. Mix grout (gloves and dust mask), and work it into the joints with a grout float. Just dump some on, and go back & forth in all directions, pushing it down in one area, and backing out of the room again. As you go, scrape excess from the surface (pic) by holding the float more vertically, and moving it at an angle across the joints. It should look about like this.

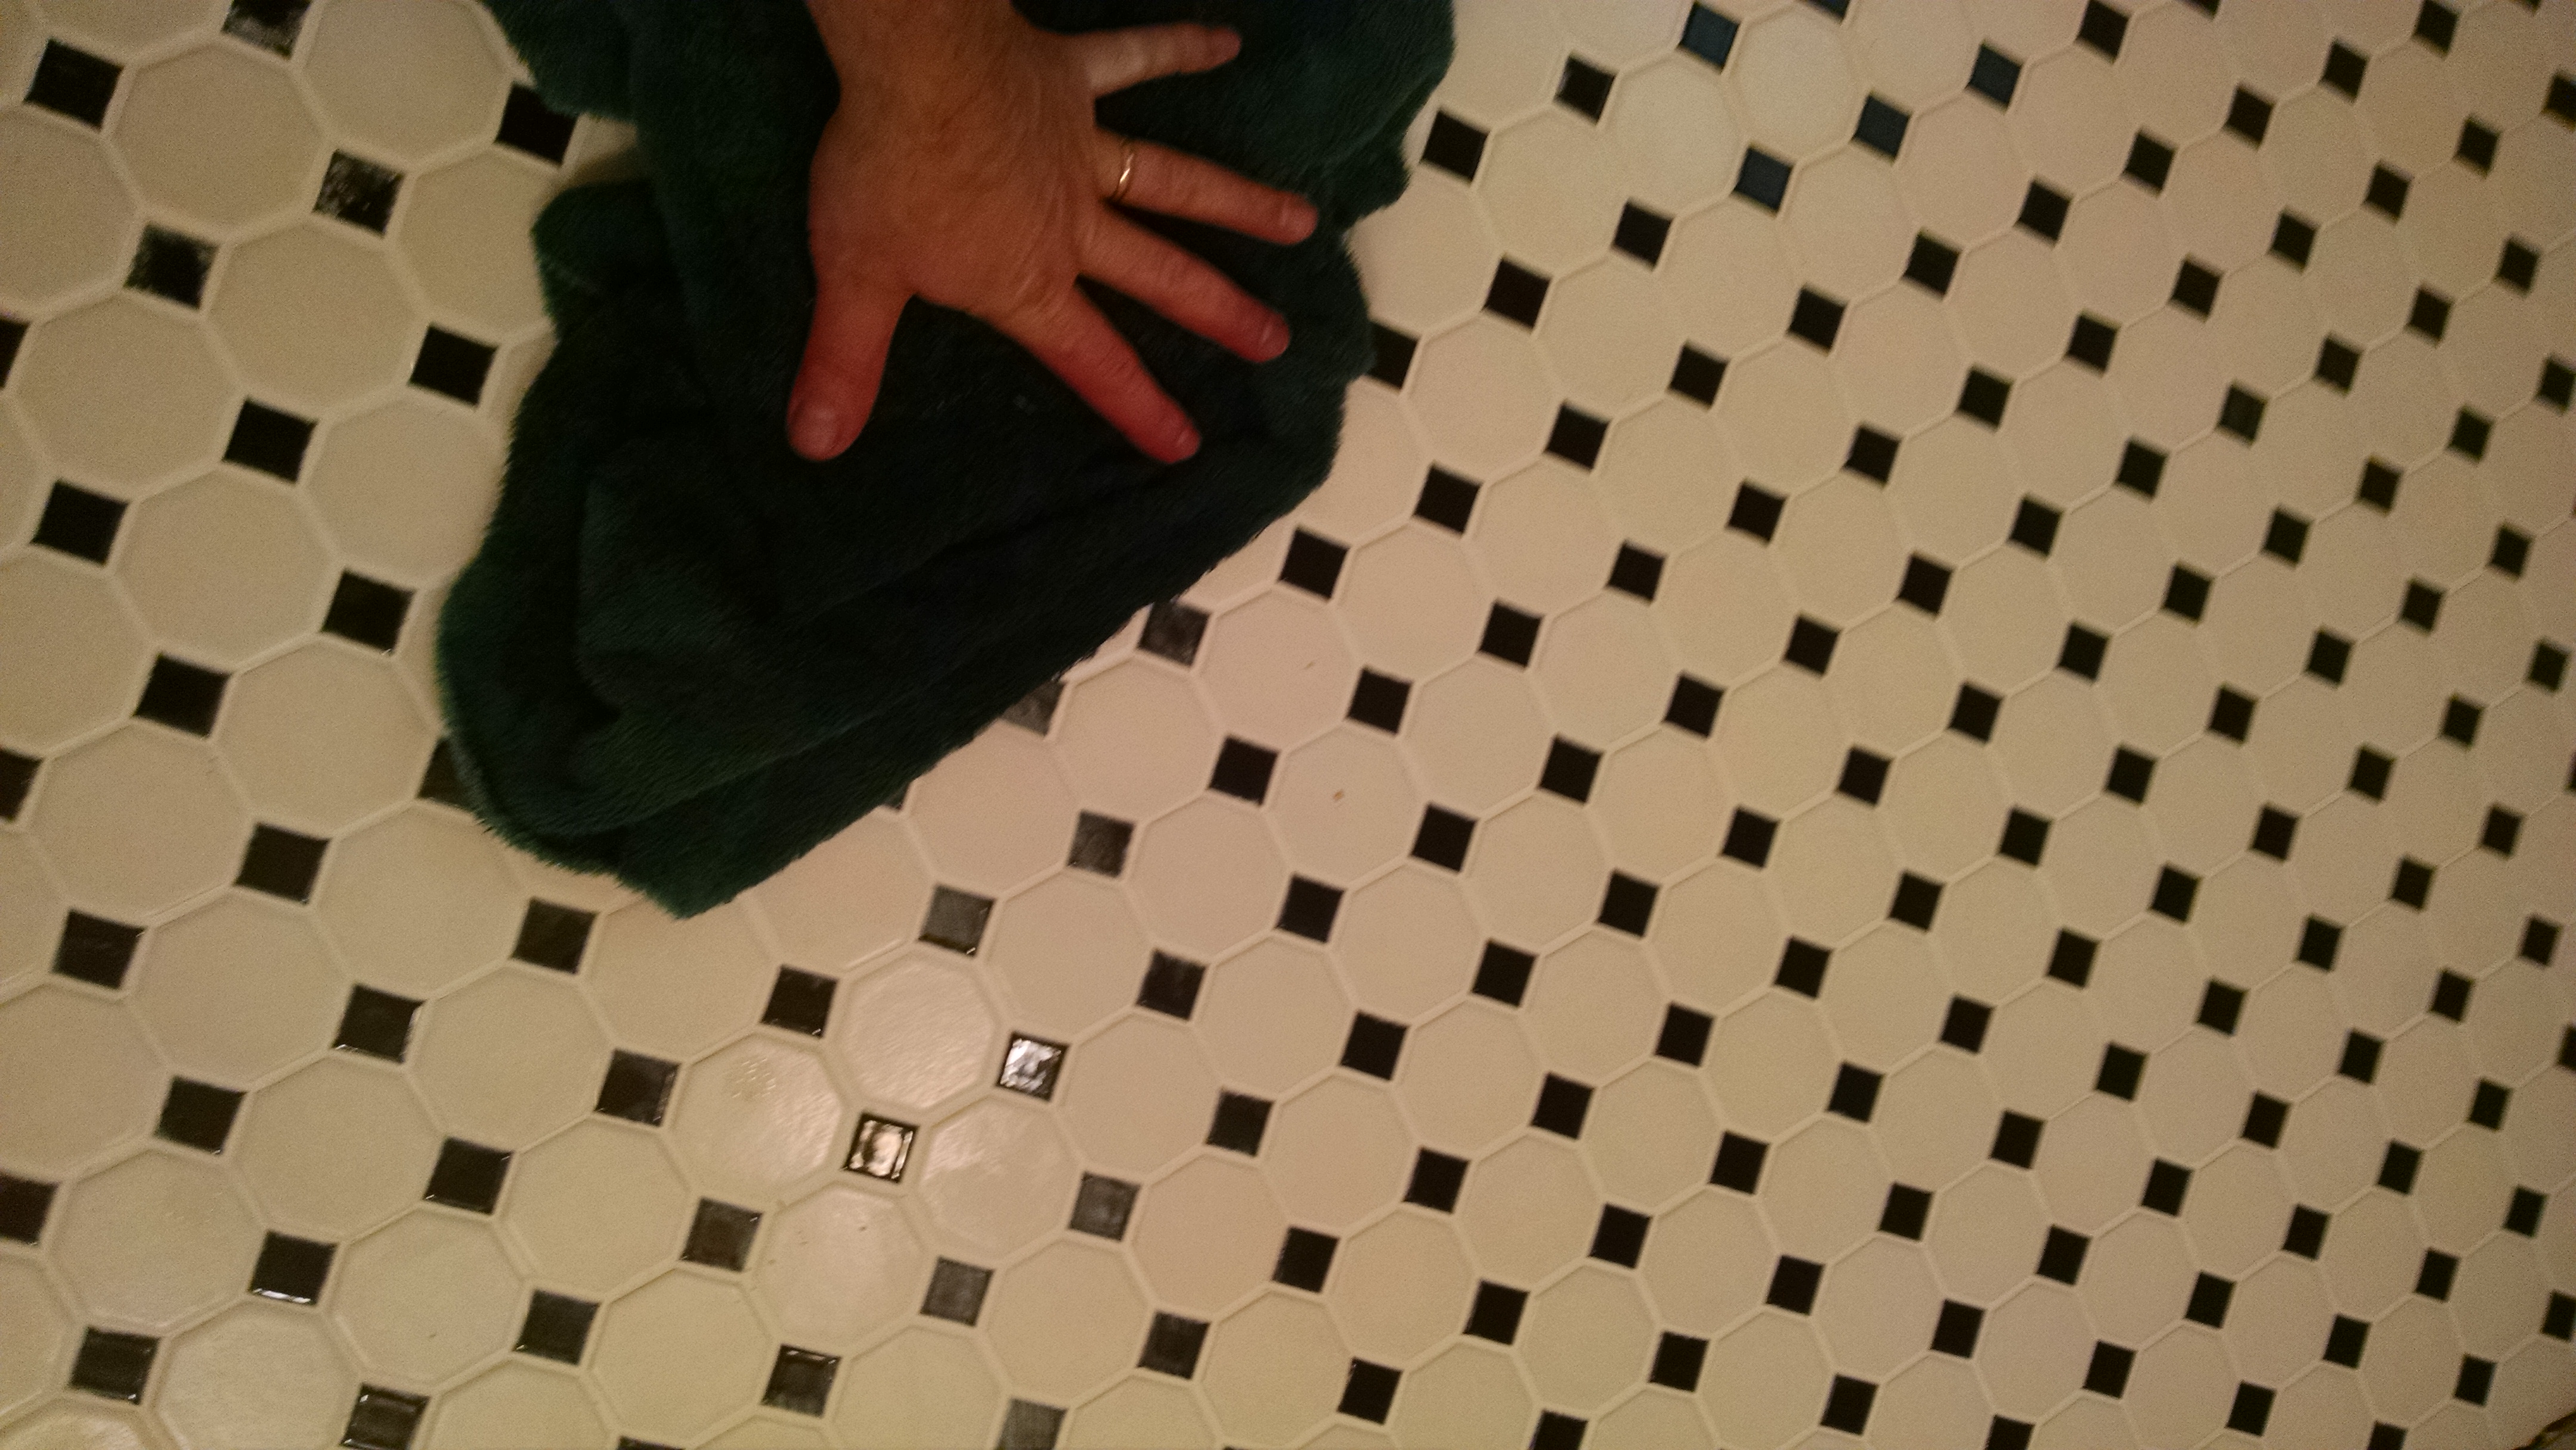
Let the grout set up for 15-30 minutes, then, using a clean bucket of water, damp-sponge the surface to remove excess grout. A scrubby sponge works well for evening up grout lines, and a soft sponge works well for cleaning tiles. Wipe, flip, wipe, dunk, wring, repeat. Damp sponge, not wet. When it all looks great, dry-wipe with a terry cloth, either today or tomorrow. That’s it!

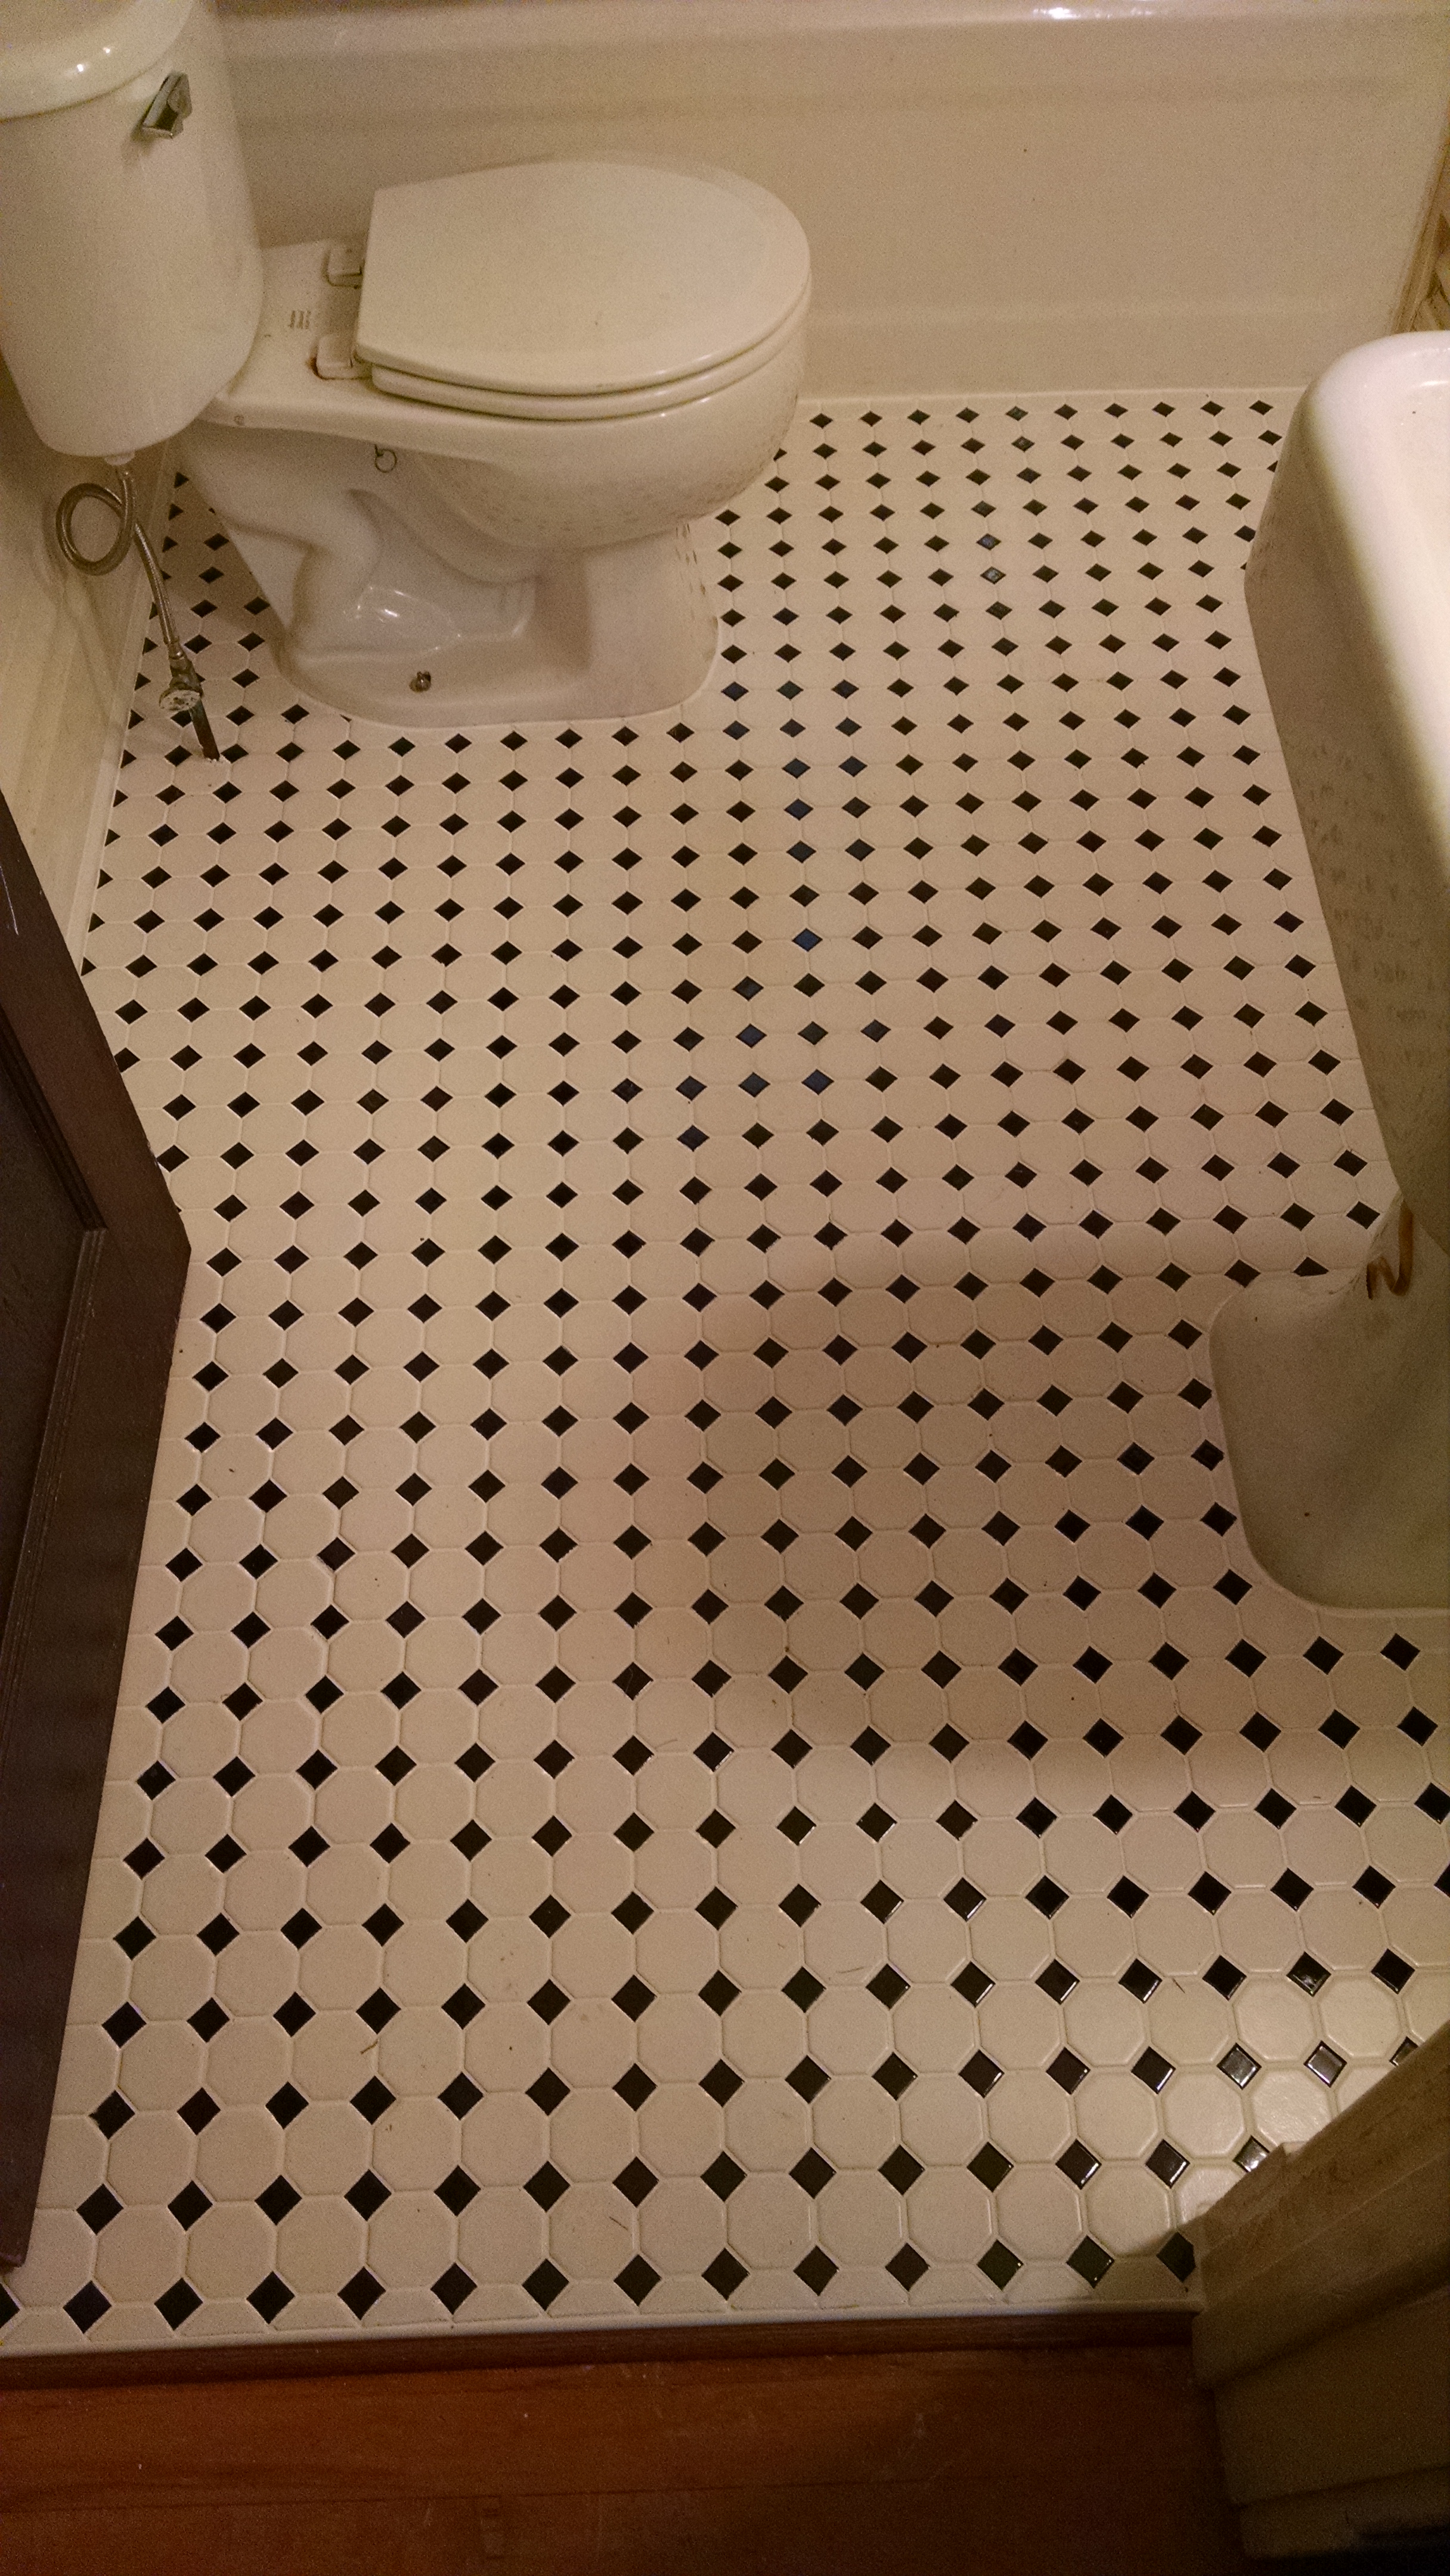
Install base shoe, install toilet and sink, caulk, rehang the door, clean up.
A job just like this one typically costs in the neighborhood of $2000, when all is said and done, and it takes the better part of a week.